Creating and Managing API Keys
Manage your API keys securely within the Onyx Cloud Database dashboard. This guide will help you create, view, and revoke API keys to control access to your databases.
Introduction
API keys are essential for authenticating requests to your databases. They allow applications to interact with your data securely. This section provides an overview of how to create and manage these keys effectively.
Creating an API Key
Follow these steps to create a new API key for your database.
Navigate to the API Keys Section
Log in to your Onyx Cloud Database dashboard and select the database for which you want to create an API key. Navigate to the API Keys section from the sidebar.

Click on 'Create API Key'
In the API Keys section, click the Create API Key button to initiate the creation process.
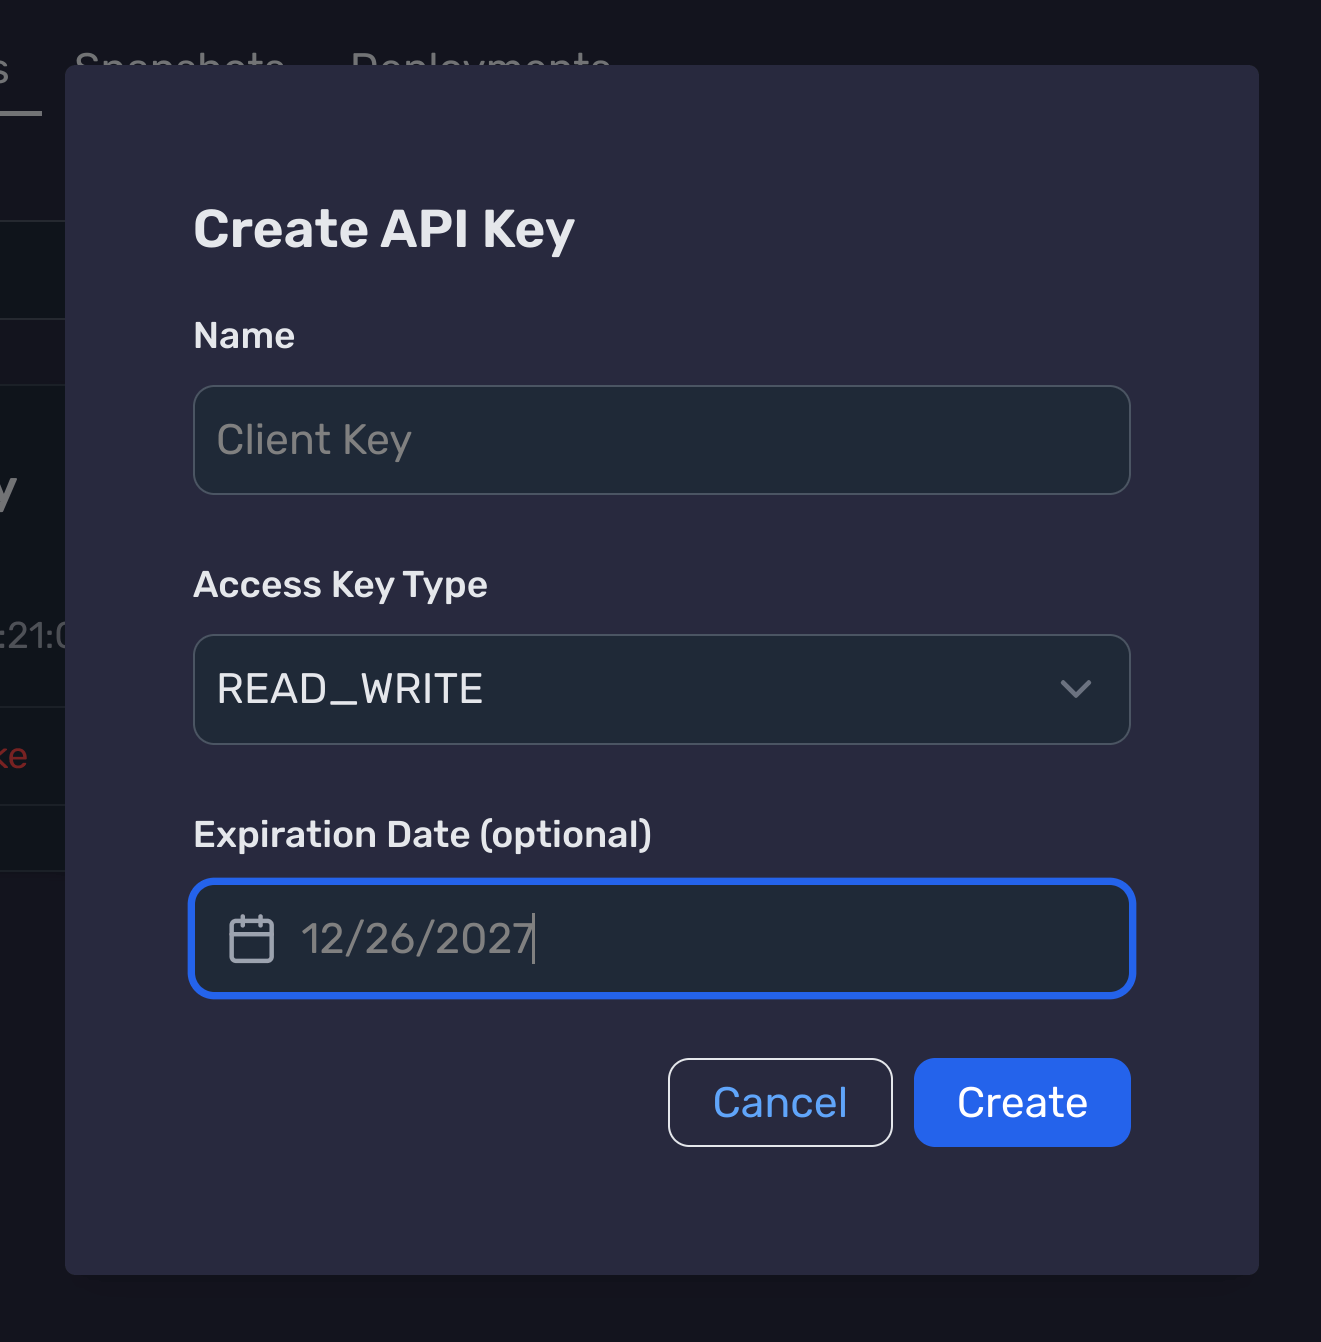
Fill in API Key Details
Provide the necessary details for your API key:
- Name: Assign a recognizable name to your API key.
- Access Level: Choose between READ_ONLY or READ_WRITE access.
- Expiration Date (optional): Set an expiration date for the key.

Generate the API Key
After filling in the details, click the Create button. Your API key and secret will be generated. Make sure to copy and securely store the secret as it won't be displayed again.
Finalize Creation
Click the Done button to complete the API key creation process. Your new API key will now appear in the list of API keys.
Viewing API Keys
Learn how to view your existing API keys and their details.
Access the API Keys List
In the API Keys section, you will see a list of all your existing API keys along with their details.
View API Key Details
Click on any API key to view its detailed information, including its access level, creation date, and expiration date if set.
Revoking an API Key
Understand how to revoke an API key to prevent unauthorized access.
Locate the API Key
In the API Keys section, find the API key you wish to revoke.
Initiate Revocation
Click the Revoke button next to the API key. A confirmation modal will appear.
Confirm Revocation
In the confirmation modal, type the name of the API key to confirm revocation and click Delete.
API Key Revoked
Upon successful revocation, the API key will be removed from the list and can no longer be used to access your databases.
Best Practices
Follow these best practices to ensure the security and efficiency of your API key management.
- Use descriptive names for your API keys to easily identify their purpose.
- Regularly review and revoke unused or outdated API keys.
- Limit the access level of each API key to the minimum required for its intended use.
- Enable expiration dates for temporary API keys to enhance security.
- Store your API keys securely and avoid exposing them in client-side code.
Next Steps
Need Help?
If you have any questions or need assistance:
- Email:support@onyx.dev
- Documentation: Visit ourHelp Centerfor tutorials and FAQs.