Using the AI Query Assistant
The AI Query Assistant inside the Query Editor can now stream query updates, infer intent from your current selection, and let you compare generated code in a side-by-side diff before you accept any changes. This guide walks through the latest workflow so you can collaborate with the assistant and ship production-ready scripts faster.
Introduction
The assistant understands your database schema, the query that is open in the editor, and the full Onyx SDK surface area. Every response is split into a runnable TypeScript script and a human-friendly explanation so you can review the reasoning before applying the code. When the assistant proposes edits, you'll receive a live diff that streams into view in real time.
Open the AI assistant panel
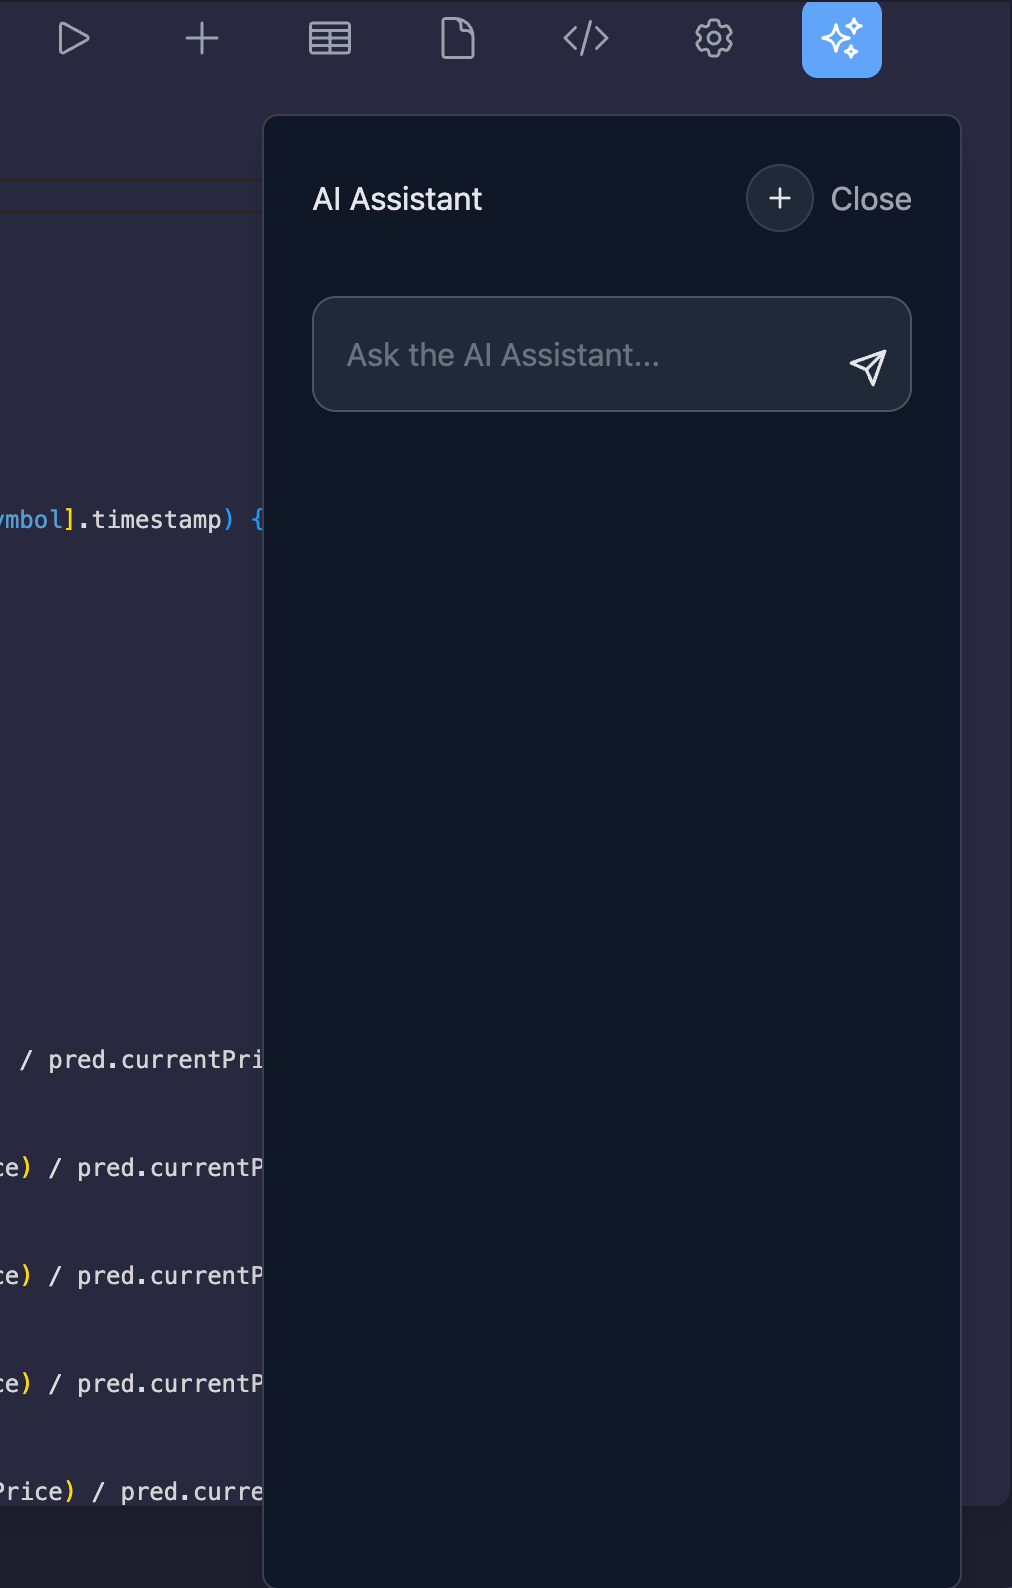
The AI assistant lives in the slide-out panel that you open from the editor toolbar. Use these steps to start a session:
Go to the Query Editor
Navigate to Organizations → Databases → Query Editor, then choose the database and saved query you want to work with.
Open the Sparkles menu
Click the sparkles icon in the top toolbar. The panel animates in on the right with your chat history and an input box.
Start fresh when you need to
Select New chat (the plus icon) to clear the conversation. Switching to a different saved query also resets the history so the assistant stays aligned with the active script.
Shape your request
Describe the change in natural language. The assistant combines your prompt with the database schema summary and the current editor contents to improve its inference. You can:
- Generate a brand-new query from scratch when the editor is empty.
- Ask for targeted edits, such as filtering on additional fields or restructuring results.
- Request optimizations (pagination, ordering, resolving relations) for an existing script.
You can continue the conversation to refine the answer—each follow-up keeps the previous context so you do not have to repeat yourself.
Watch streaming updates
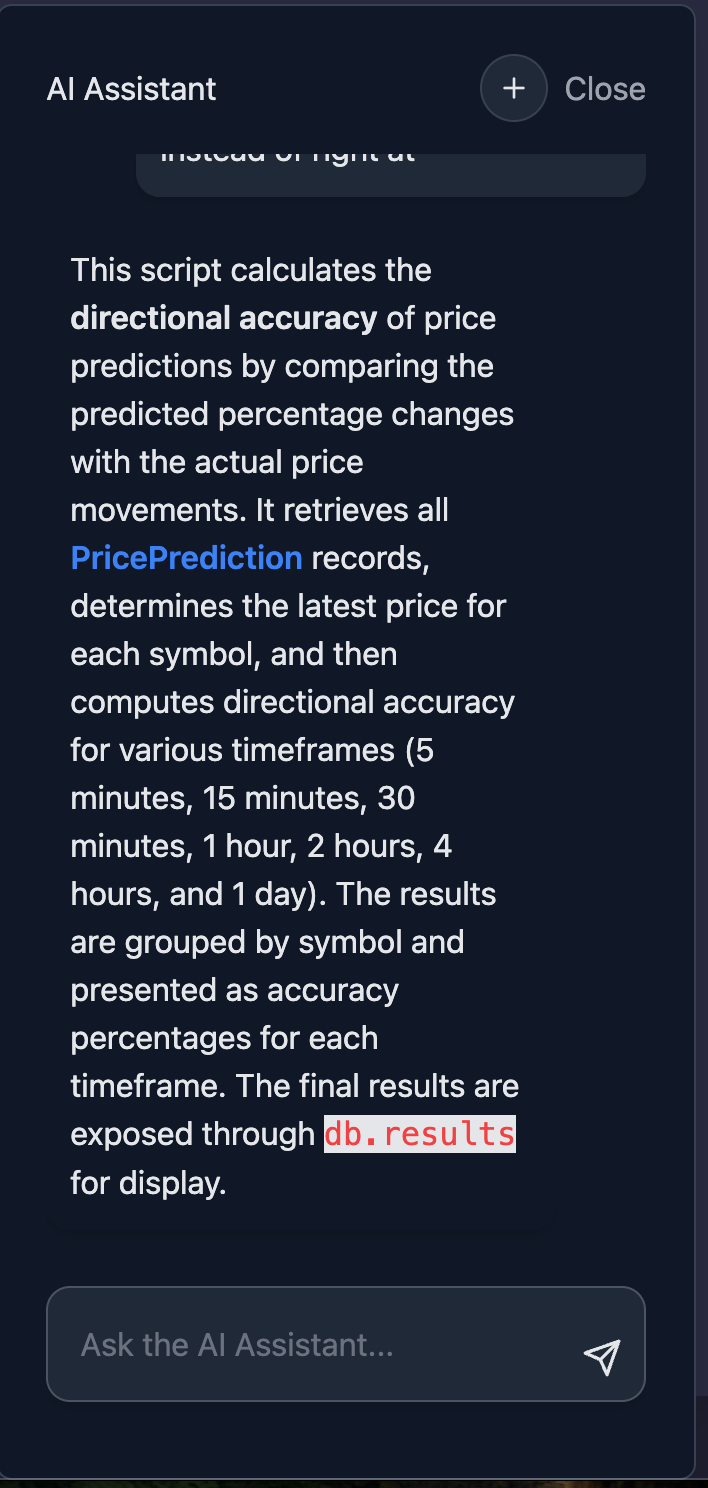
As soon as the assistant begins responding, you'll see a live typing indicator in the chat window. The TypeScript code block streams in first, followed by the explanation so you can preview logic changes immediately.
While the code is streaming, the diff viewer prepares in the background. You can keep chatting and add follow-up prompts even before the response finishes.
Review the AI diff
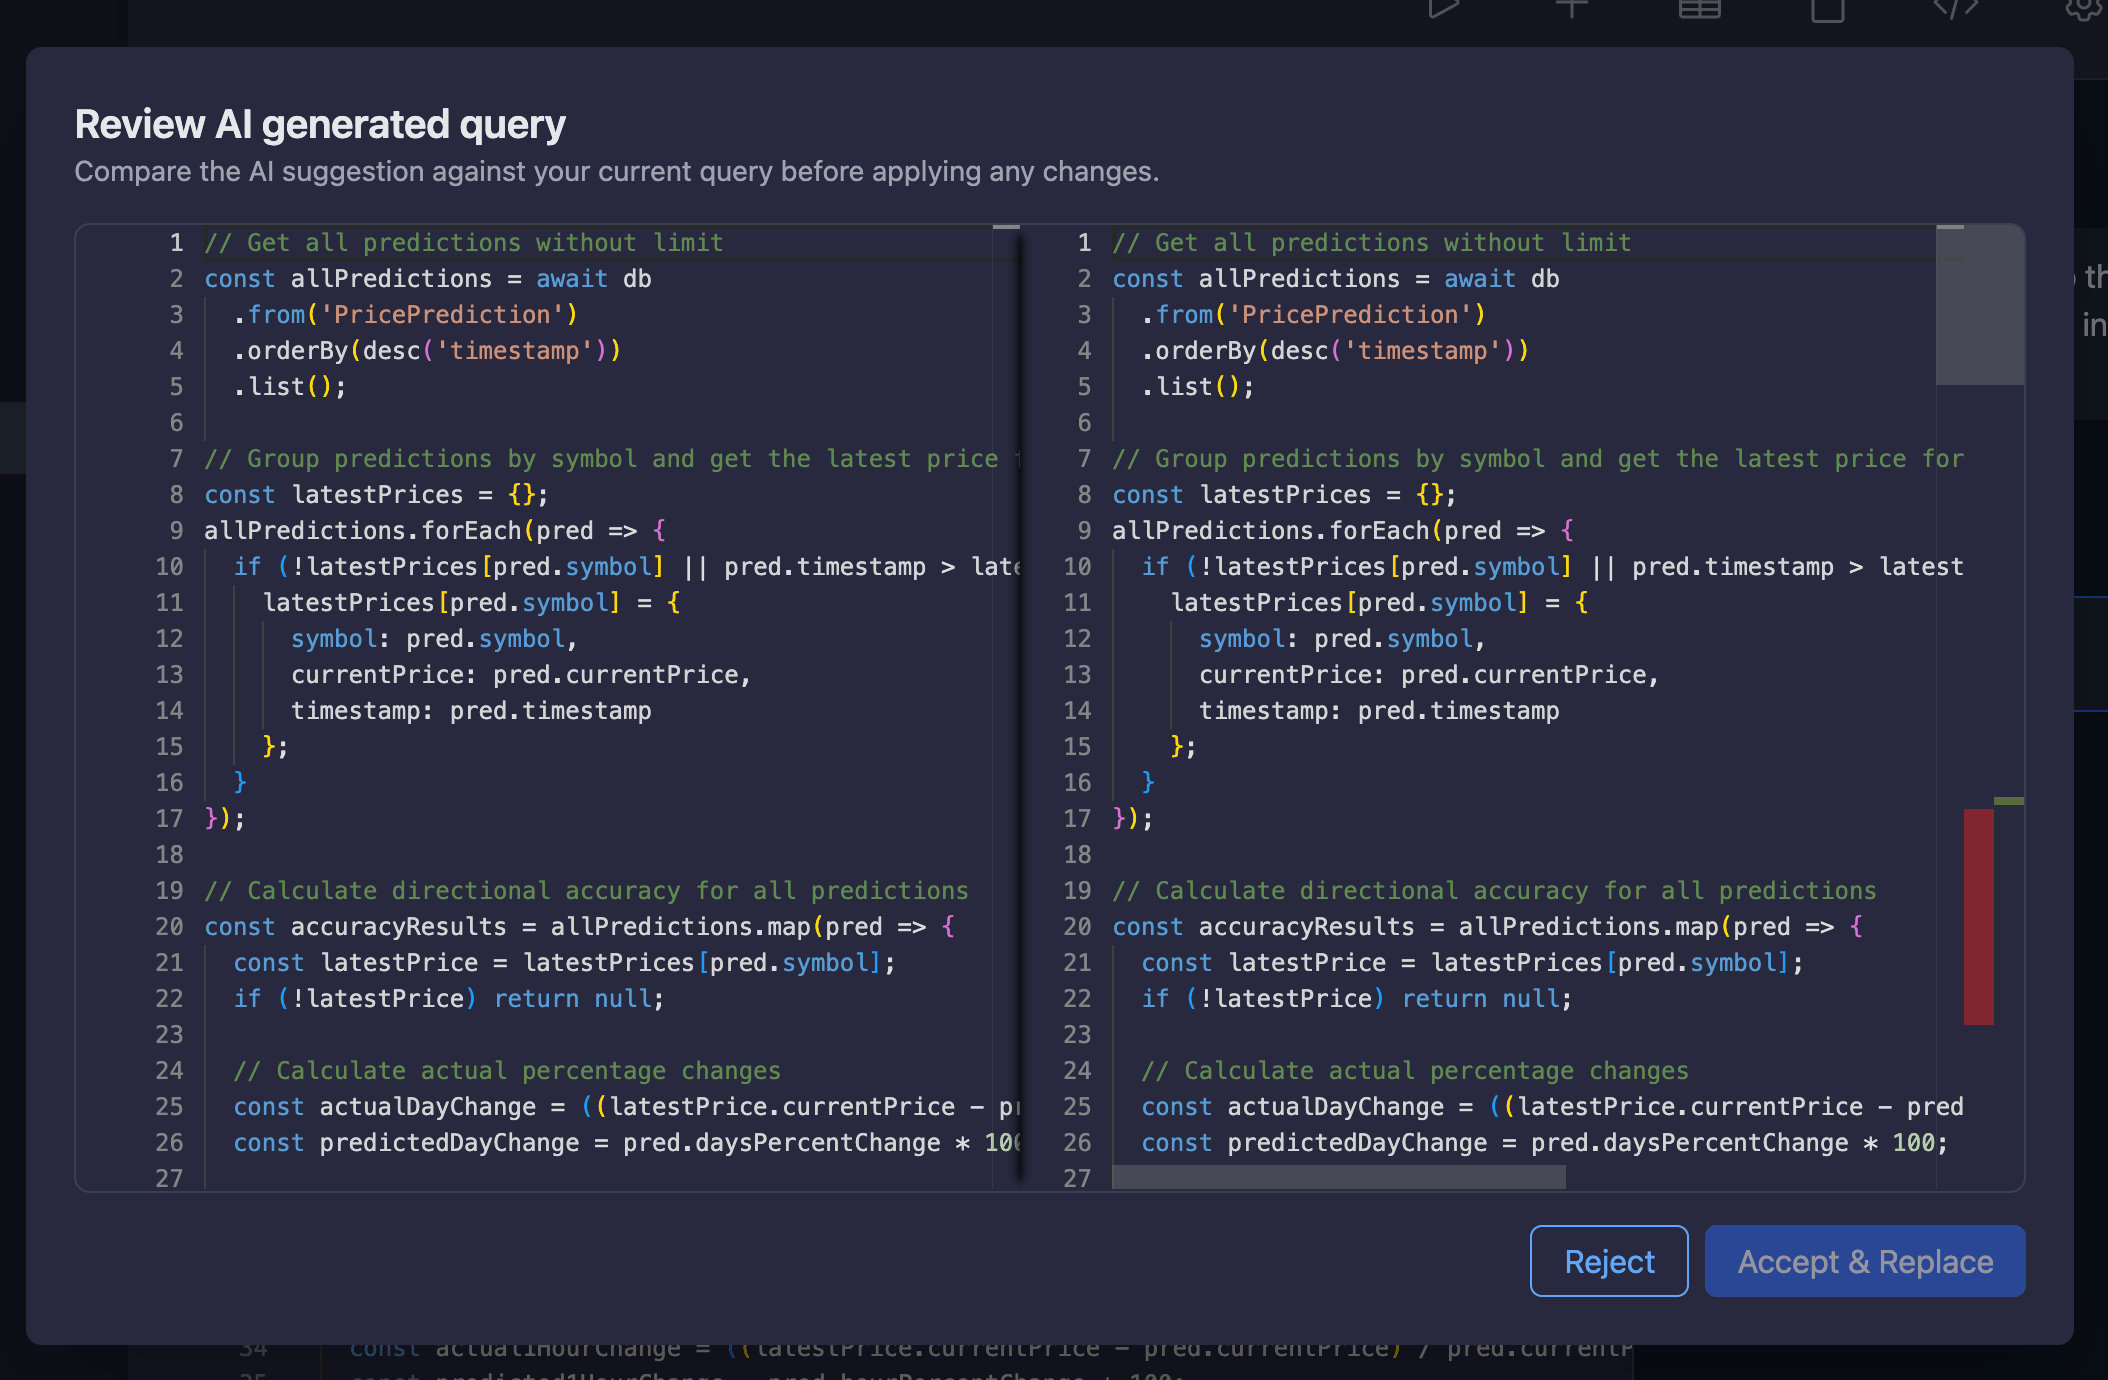
When the assistant emits a code block, a diff dialog opens automatically. The left panel shows your original script and the right panel streams in the generated replacement. The viewer updates roughly every few milliseconds so you can watch the edits arrive in place.
- Pause the stream at any point—scrolling or selecting text never interrupts generation.
- The generated pane becomes editable once streaming completes, letting you tweak the proposal before applying it.
- A status indicator keeps the Accept & Replace button disabled until the full suggestion is ready.
Apply or discard AI changes
When you're satisfied with the suggestion, choose how to proceed:
- Accept & Replace writes the generated script into the editor, updates the selected saved query, and closes the diff dialog.
- Reject keeps your original query unchanged and resets the generated code so you can iterate with another prompt.
- You can also copy portions of the AI response directly from the chat if you prefer to merge changes manually.
After accepting a change, feel free to send another message—the updated query becomes the new baseline for future suggestions.
Best practices
- State the desired output shape (e.g., “group by status and return counts”) to guide the assistant.
- Mention performance requirements such as pagination or ordering to get optimized scripts.
- Iterate quickly: ask for tweaks, then accept once the diff looks correct.
- Use
db.resultsintentionally—the assistant exposes final data there for the results grid. - Reset the chat when switching contexts to avoid carrying schema assumptions between databases.
Next Steps
Need Help?
If you have any questions or need assistance:
- Email:support@onyx.dev
- Documentation: Visit ourHelp Centerfor tutorials and FAQs.