Managing Database Schema in Onyx Cloud Database
This guide will help you manage your database schema using the JSON Editor, Validate, and Publish features. Learn how to define, validate, and publish your schema changes seamlessly.
Introduction
Managing your database schema is crucial for maintaining data integrity and optimizing performance. Onyx Cloud Database provides intuitive tools to help you define, validate, and publish your schema changes. This guide covers the essential features to effectively manage your schema.
JSON Editor
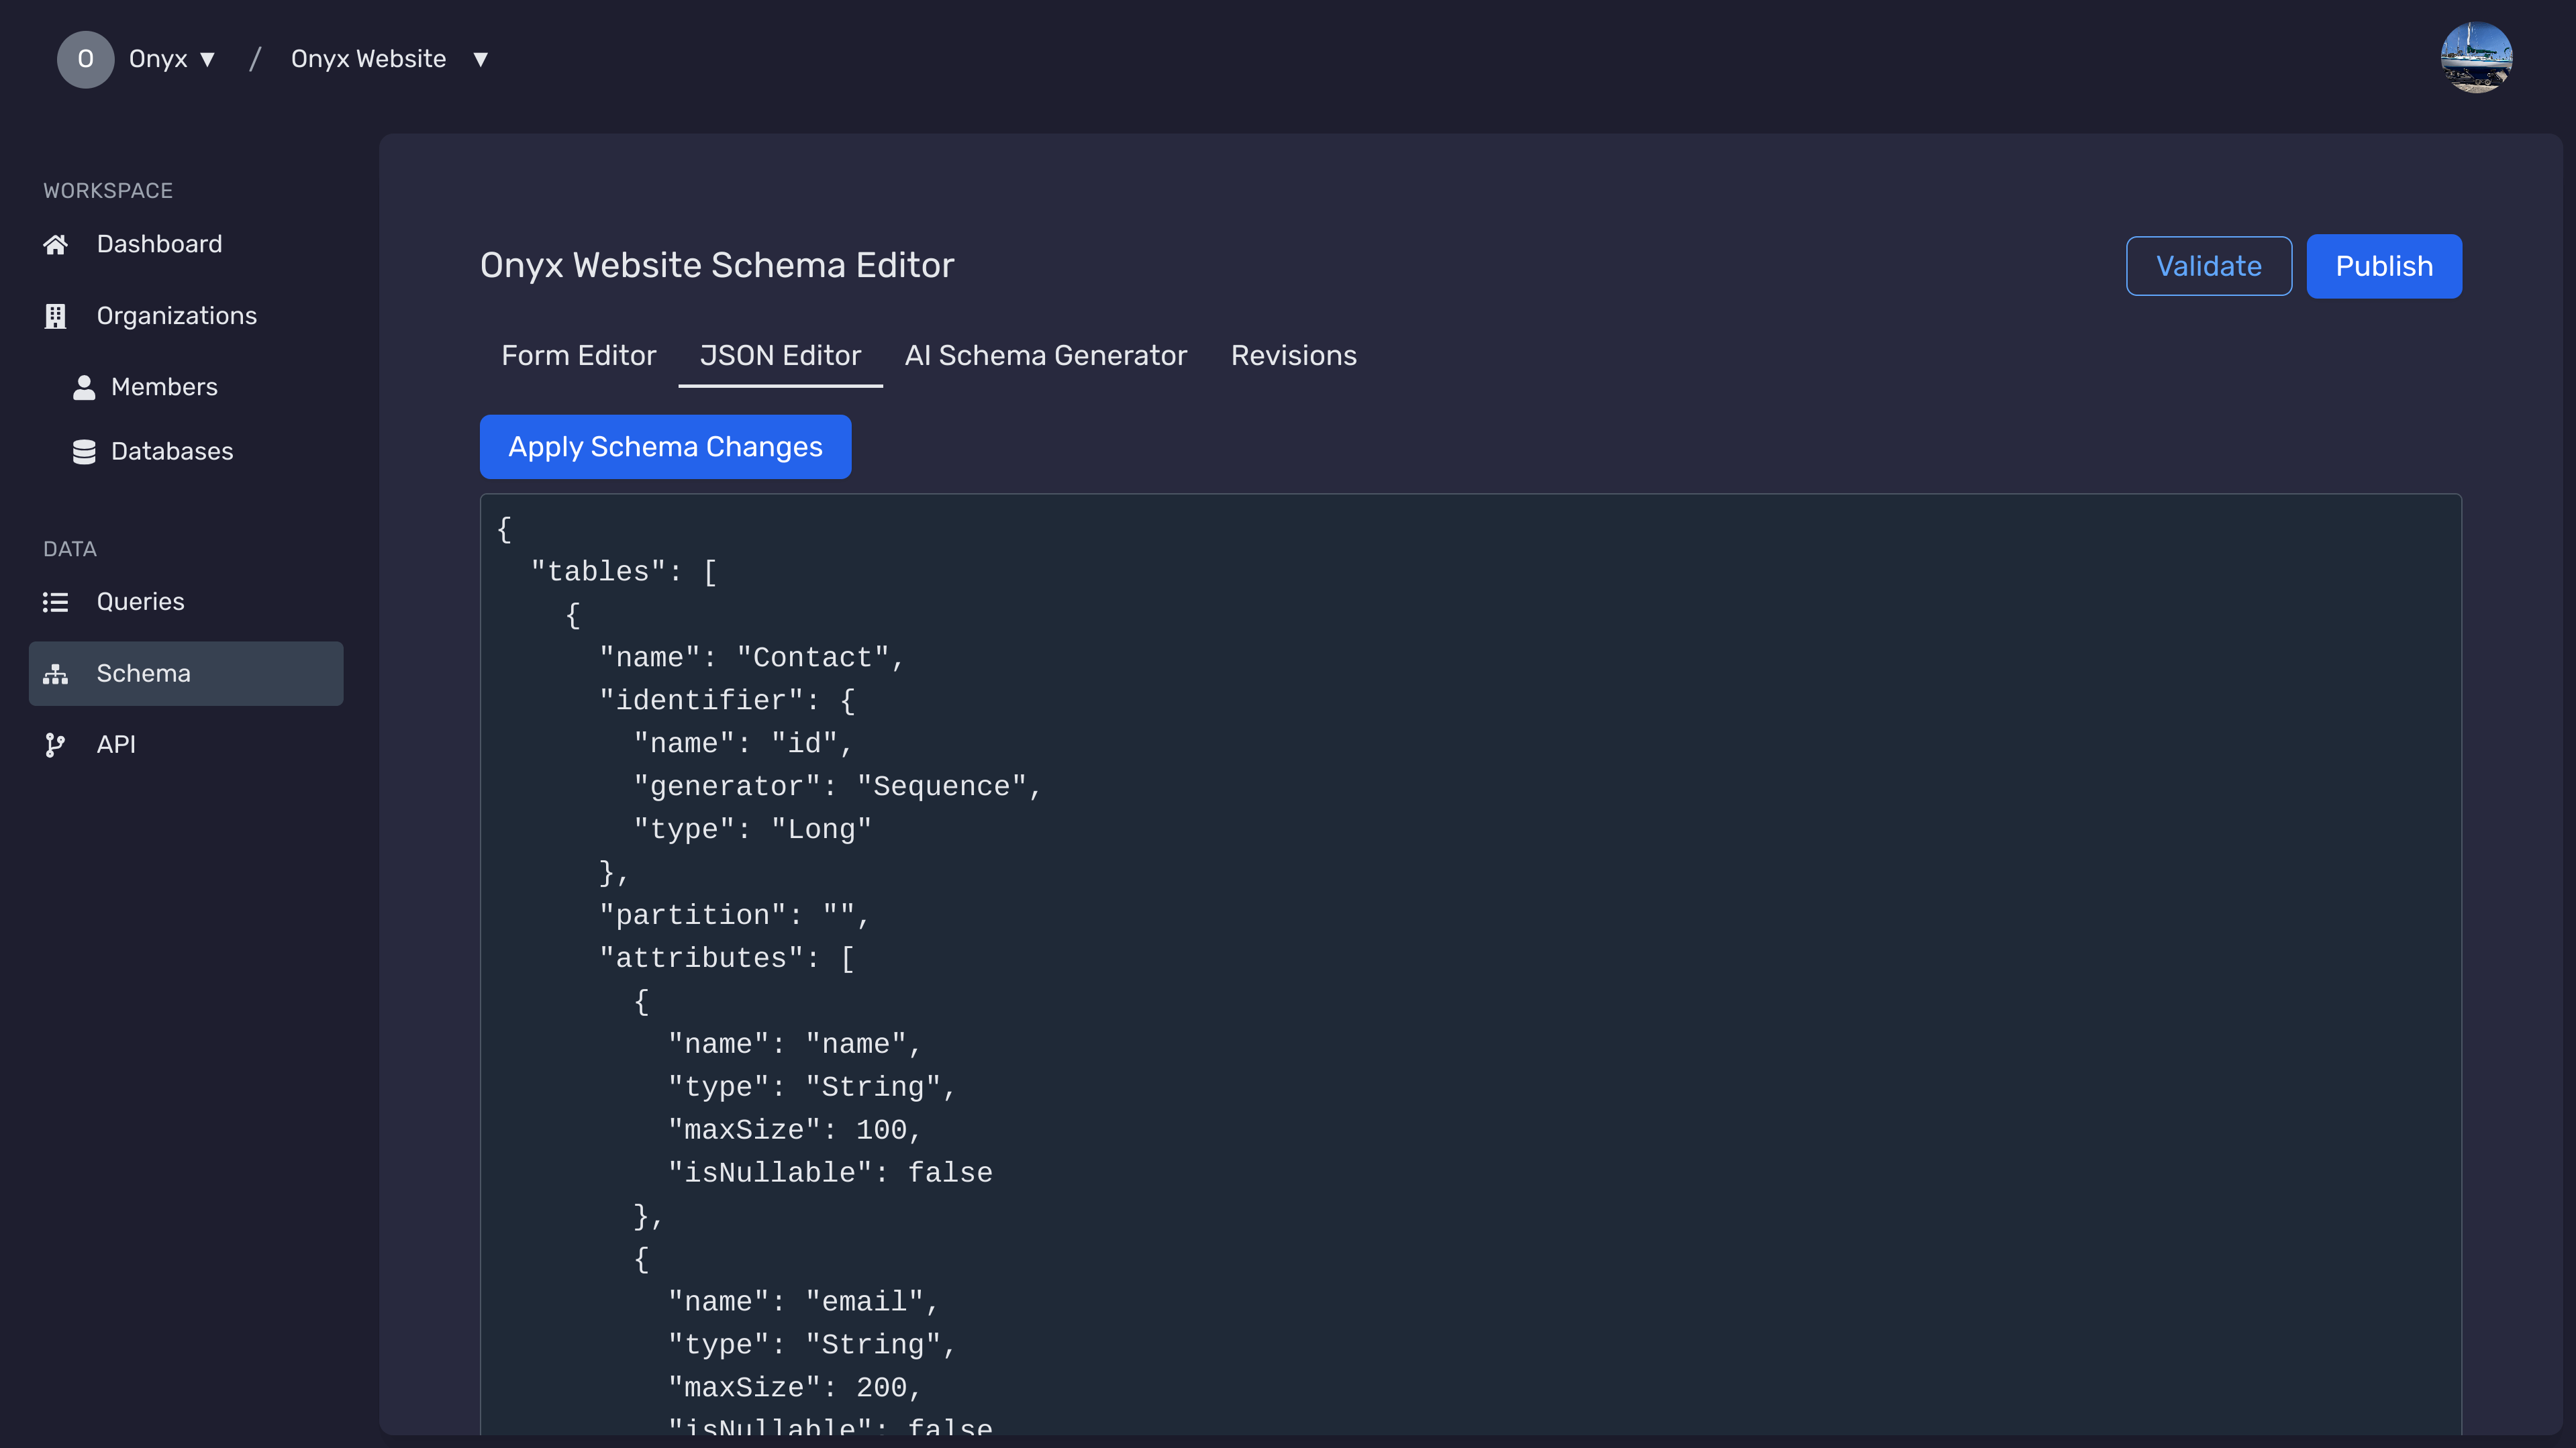
The JSON Editor allows you to define and modify your database schema using JSON. It provides a flexible way to structure your data models, entities, attributes, and relationships.
Access the JSON Editor
Navigate to the Schema Editor within your dashboard to access the JSON Editor.

Define Your Schema
Use the JSON Editor to define your database schema. You can create entities, specify attributes, and establish relationships.
- Entities: Define tables or collections.
- Identifier: Assign a unique identifier to each entity.
- Attributes: Specify fields within each entity.
- Partition: Define the partition attribute for the entity.
- Indexes: Create indexes for efficient data retrieval.
- Relationships: Establish connections between entities.
Edit Existing Schema
To modify an existing schema, load the current JSON structure and make the necessary changes. Ensure that the JSON syntax is correct to avoid validation errors.
Save Your Changes
After defining or editing your schema, click the Save button to store your changes locally. These changes can later be validated and published.
Validate Schema
Validating your schema ensures that it adheres to the required standards and detects any potential issues before publishing.
Initiate Validation
After saving your changes in the JSON Editor, click the Validate button to start the validation process.
Review Validation Results
The system will check your schema for any errors or inconsistencies. Review the results displayed below the editor:
- Success: Your schema is valid and ready to be published.
- Errors: Address the highlighted issues before proceeding.
Fix Validation Errors
If validation errors are detected, navigate back to the JSON Editor to correct them. Ensure that all required fields are properly defined and relationships are correctly established.
Publish Schema
Publishing your schema applies the validated changes to your database, making them active and available for use.
Prepare for Publishing
Ensure that your schema has been successfully validated. Only validated schemas can be published.
Initiate Publishing
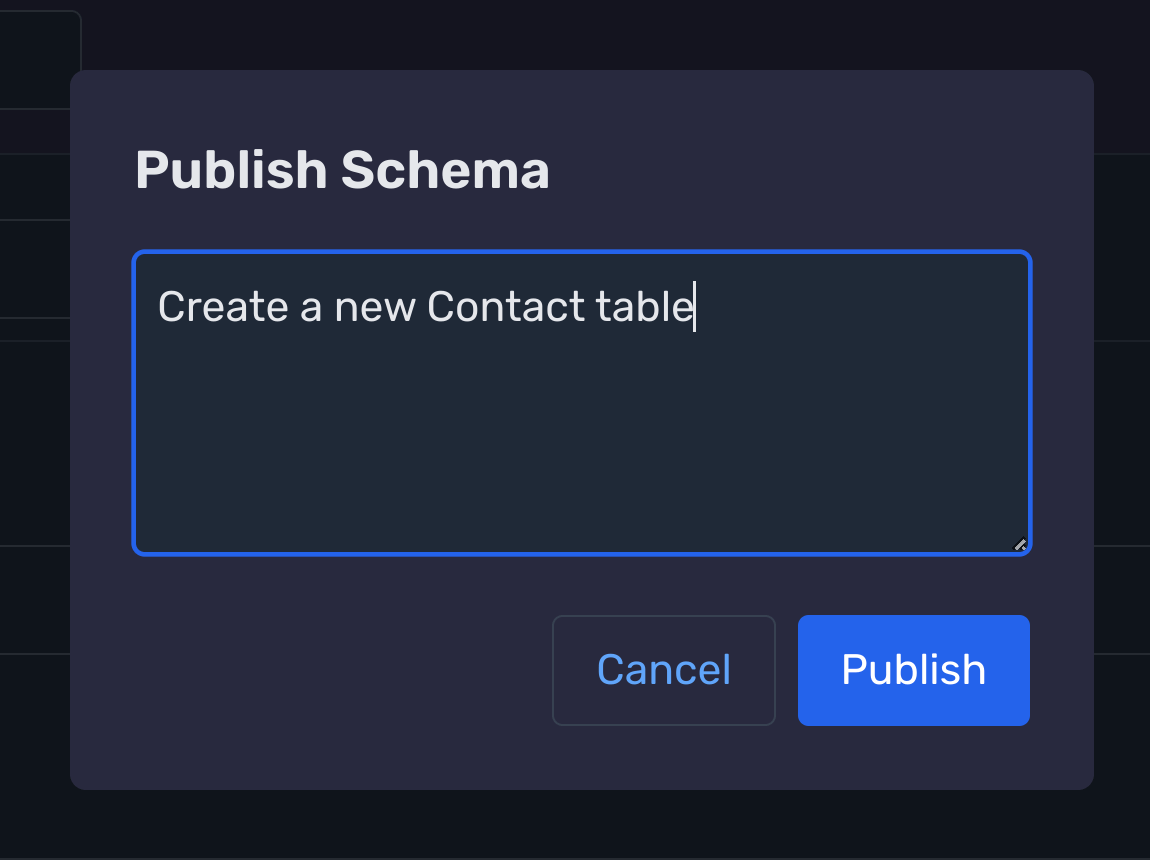
Click the Publish button to apply your schema changes to the database. You may be prompted to enter a revision description to document the changes.

Confirm Publication
After initiating publishing, a confirmation message will appear indicating the successful application of your schema changes. You can now start using the updated database schema.
Review Published Schema
Navigate to the Schema Overview section to review the published schema. Ensure that all changes have been applied as intended.
Next Steps
Need Help?
If you have any questions or need assistance:
- Email:support@onyx.dev
- Documentation: Visit ourHelp Centerfor tutorials and FAQs.