Modifying Tables in Onyx Cloud Database
Learn how to modify the structure and data of your tables within the Onyx Cloud Database.
Accessing Tables
To modify a table, you first need to access it from your database.
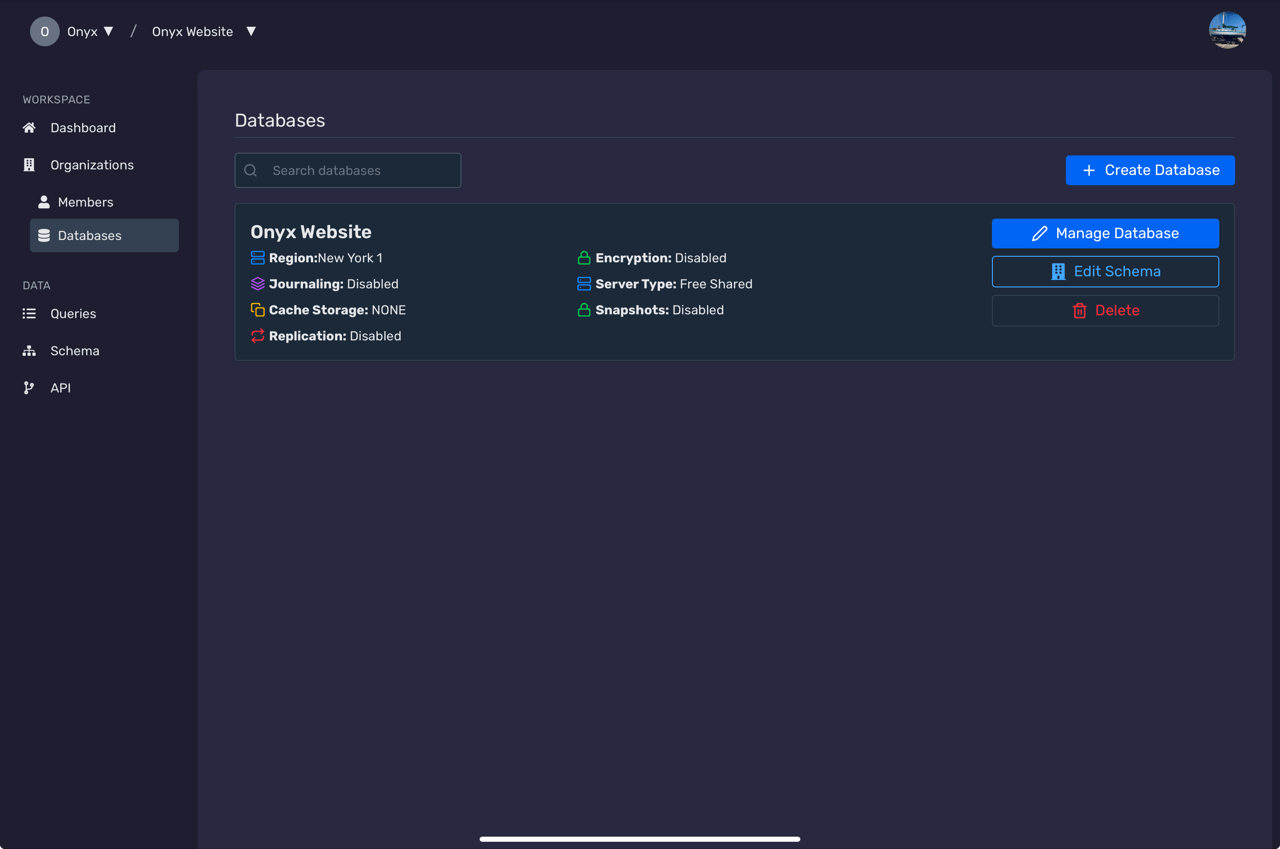
Navigate to the Databases Section
From the dashboard, click on the Databases tab in the sidebar.
Select Your Database
Click on the database that contains the table you want to modify.
Opening a Table
After accessing your database, open the table you wish to modify.
Access the Tables List
Within the selected database, navigate to the Tables section to view all available tables.
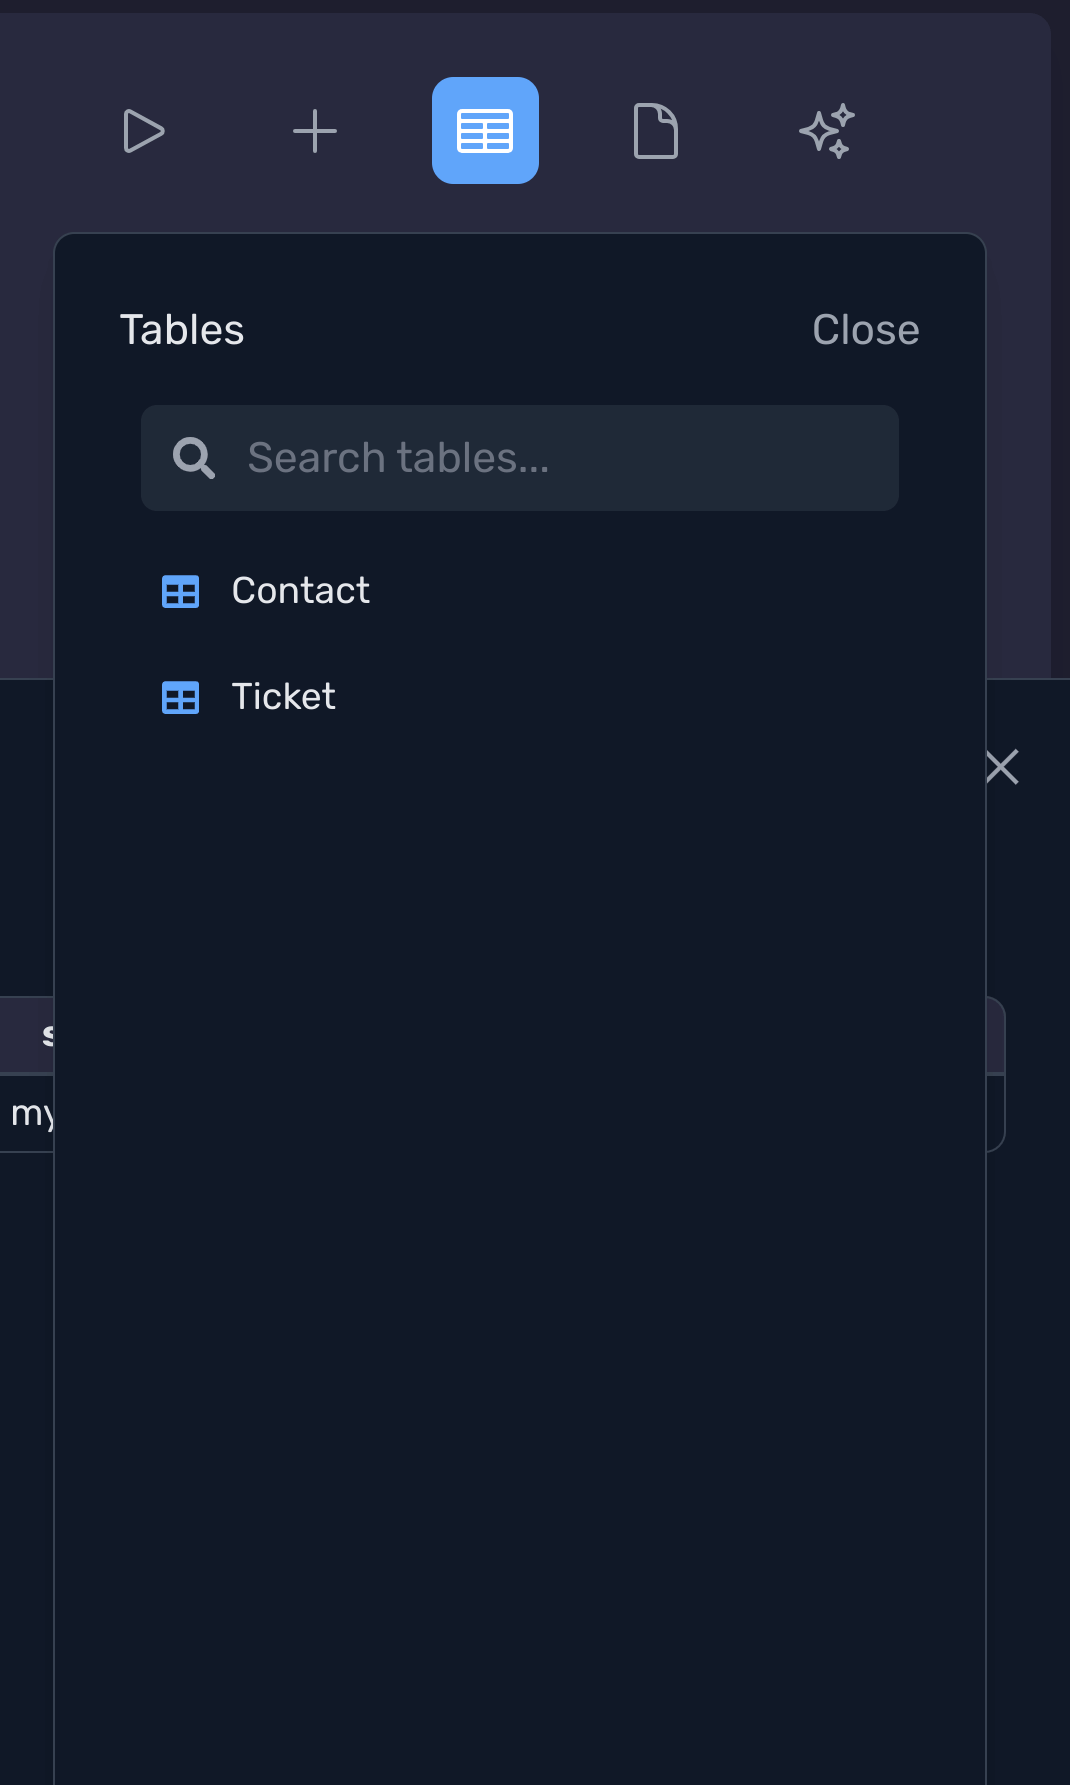
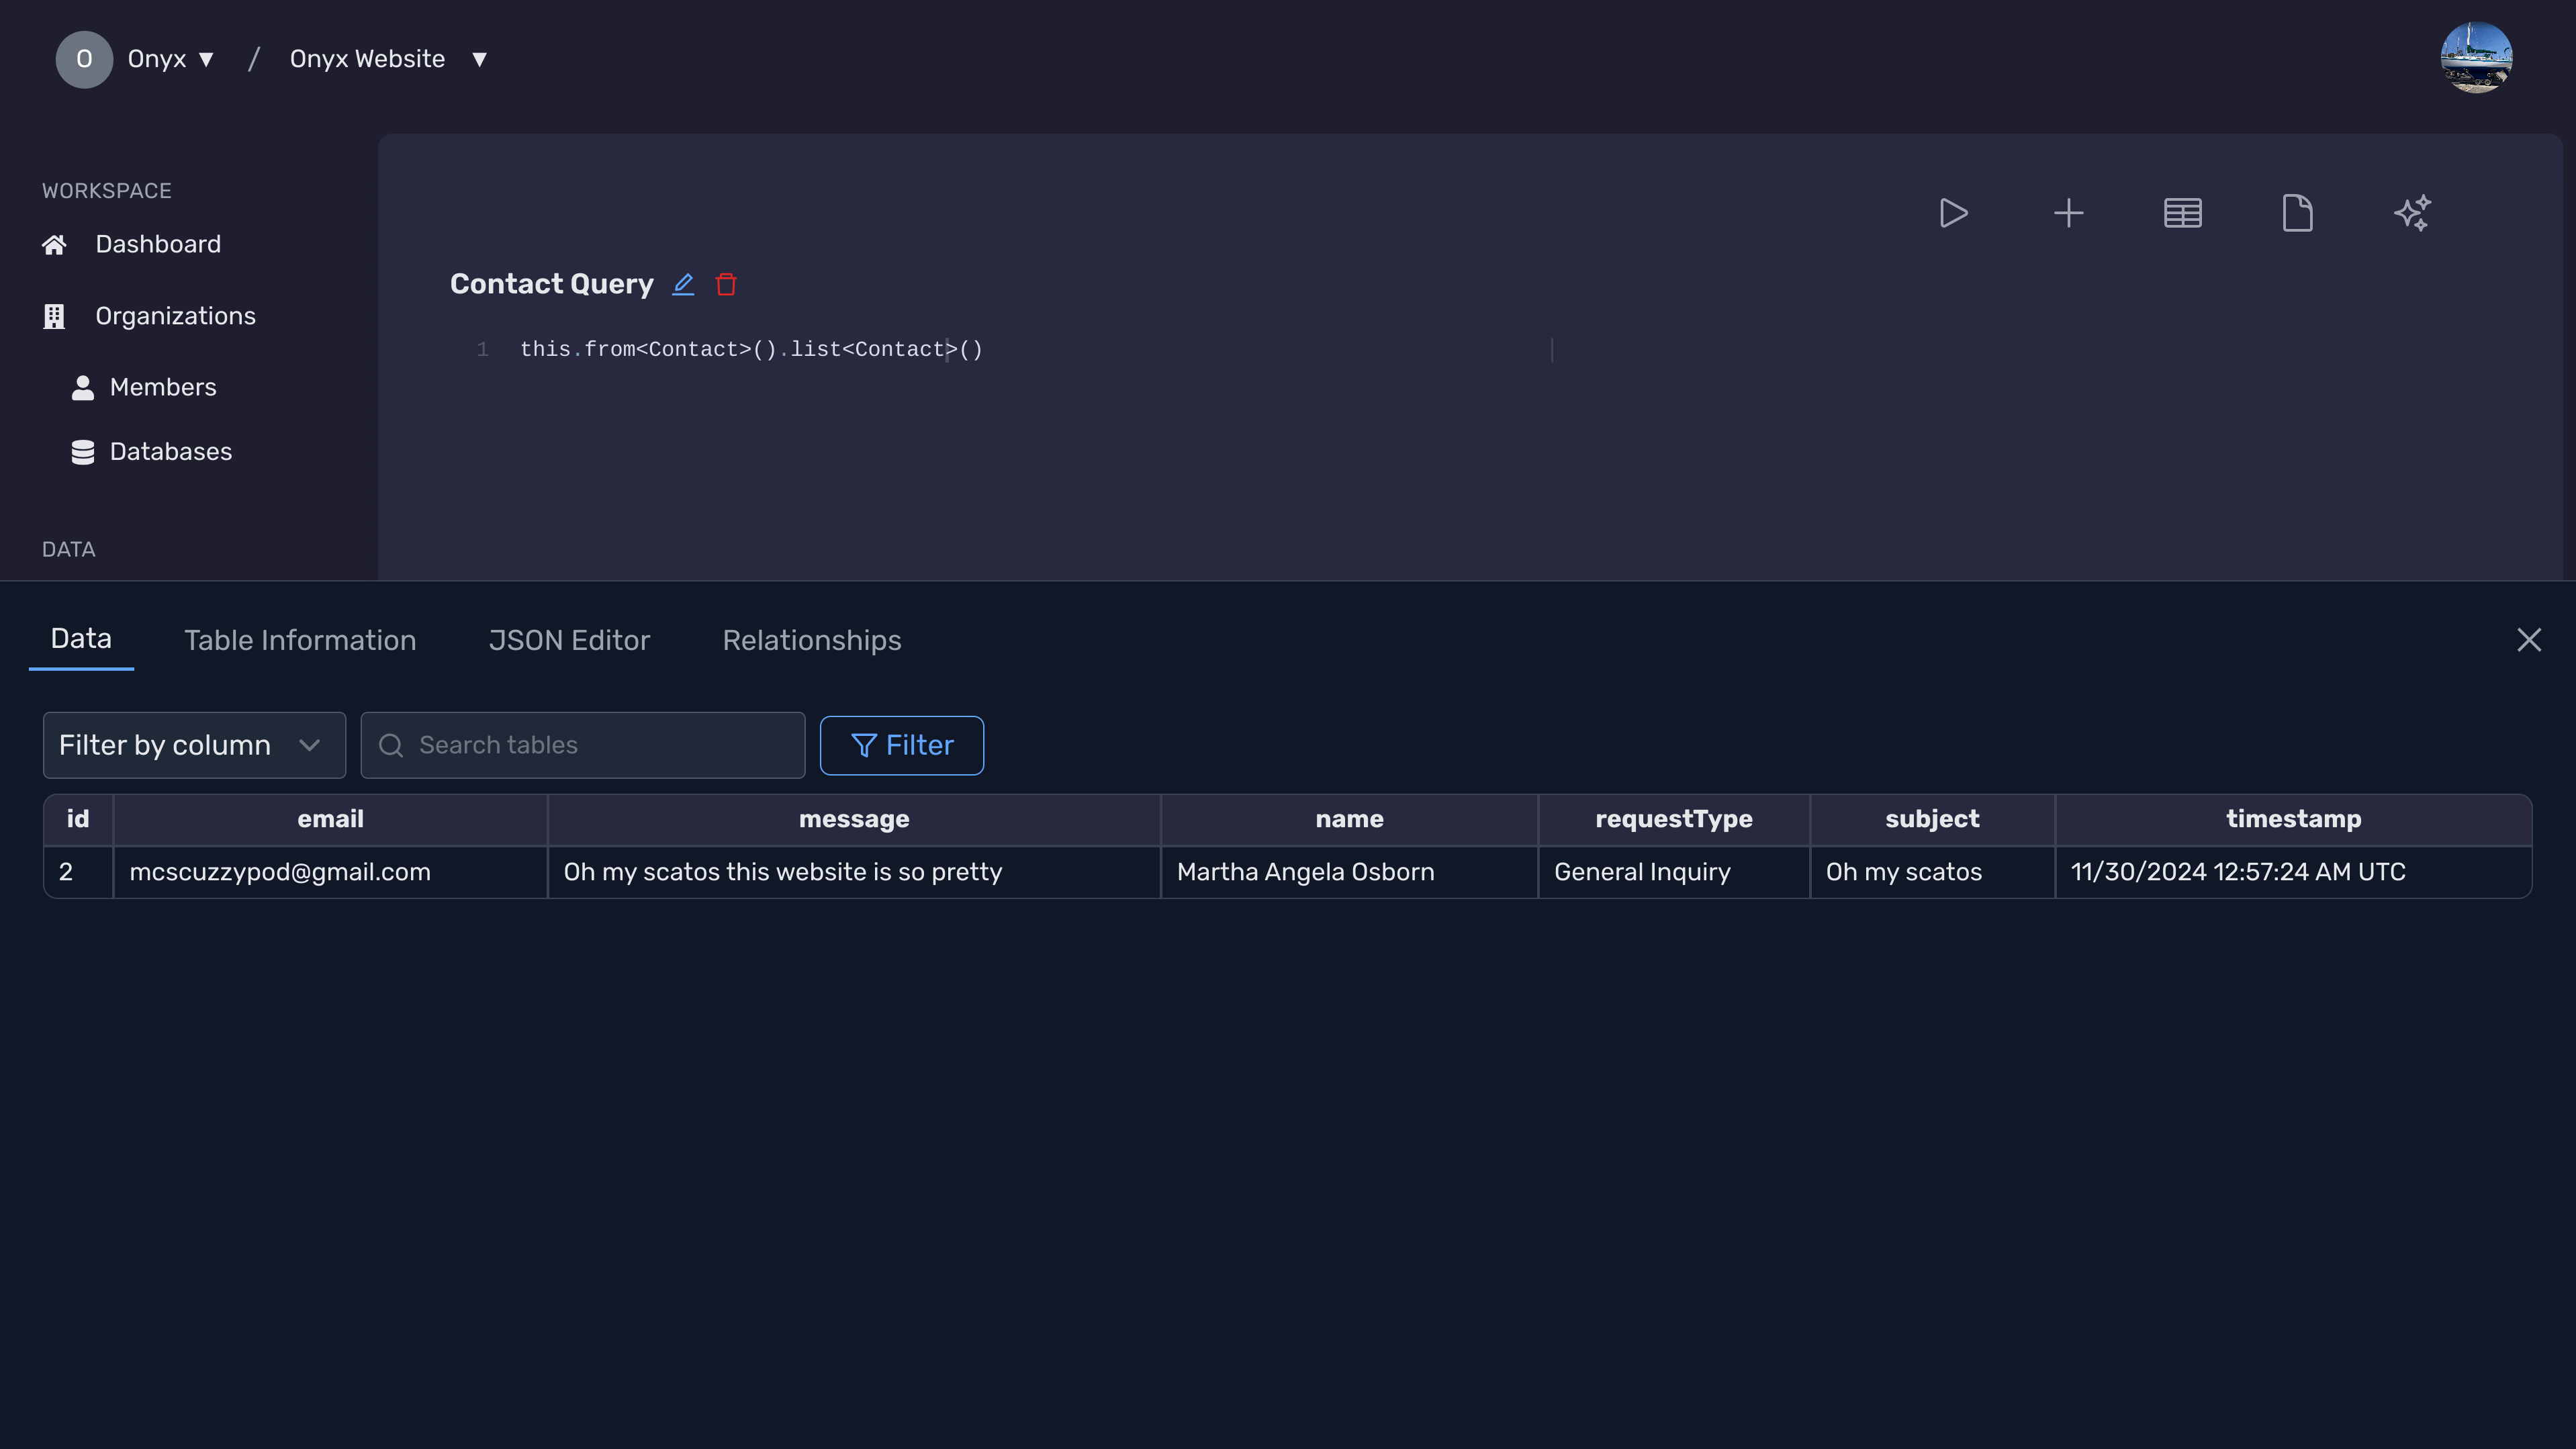
Open the Table
Click on the table name to open its data view.
Editing Table Structure
Modify the schema of your table by adding, removing, or updating columns.
Access Table Information
Within the table view, click on the Table Information button to view detailed information about the table's structure.
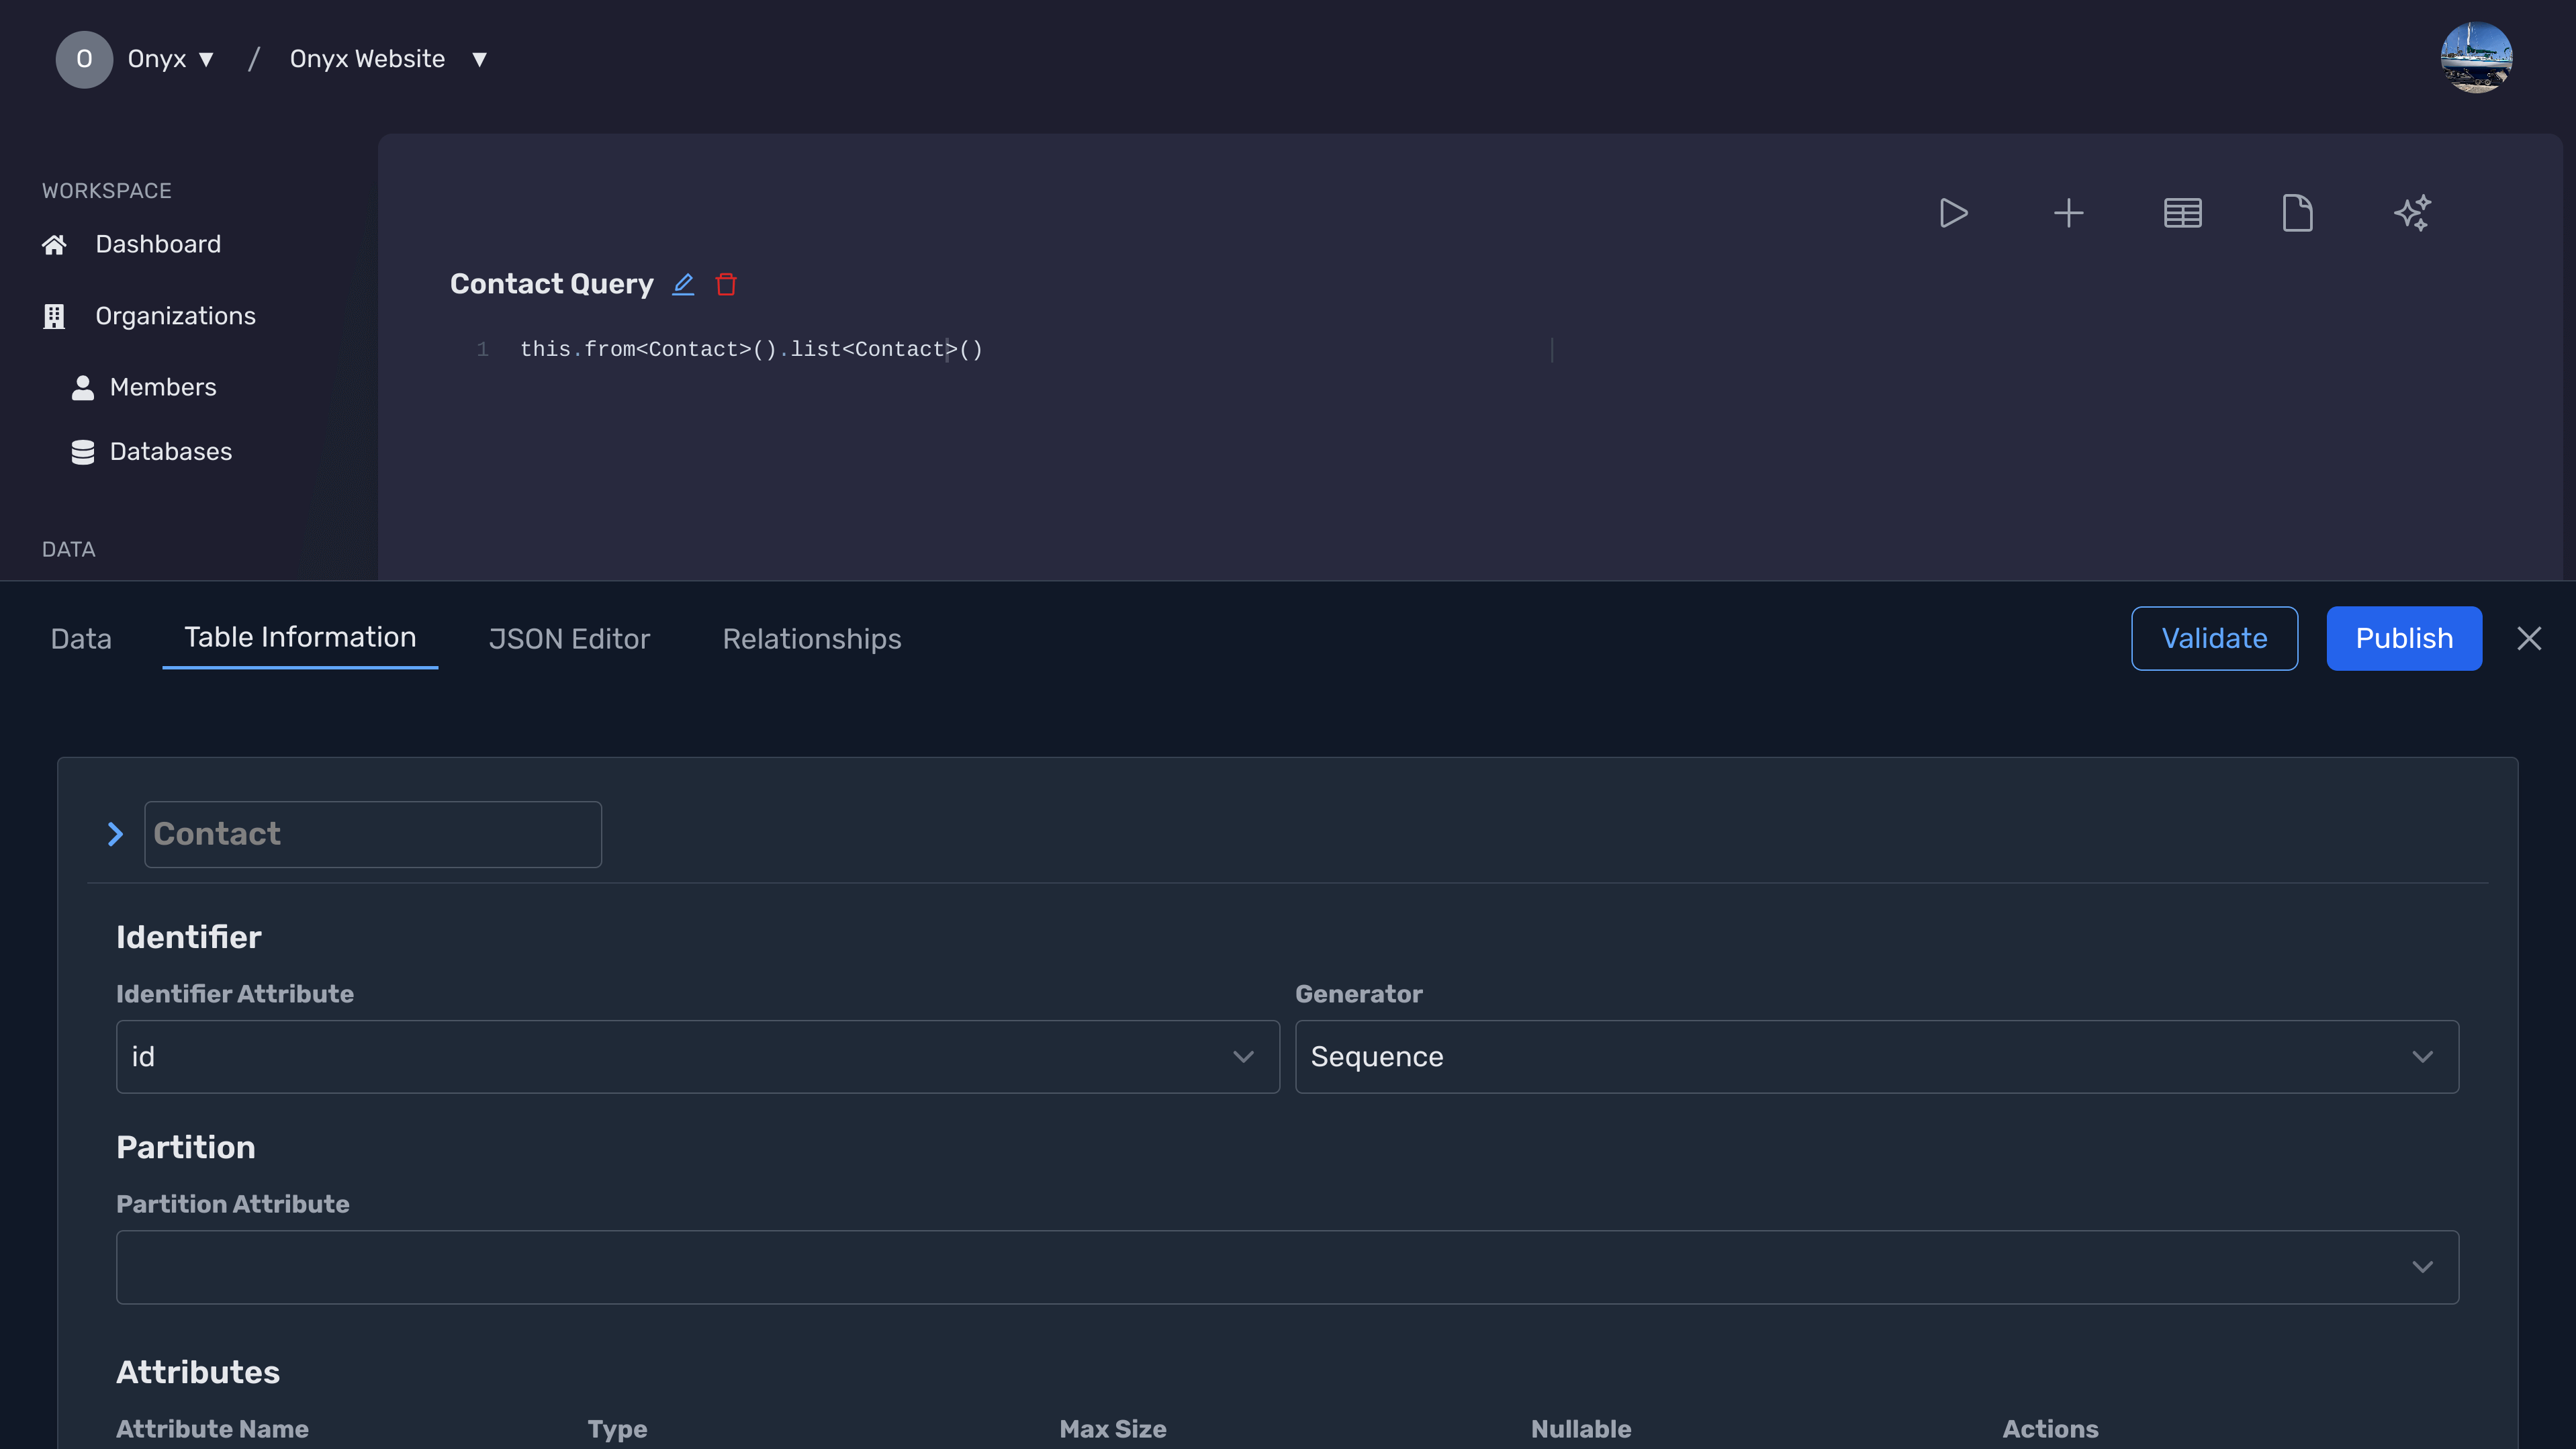
Edit Table Structure
Modify the table information on the Table Information tab to modify the table's schema, such as adding or removing columns.
Add or Remove Columns
In the schema editor, you can add new columns by clicking the Add Column button or remove existing columns by selecting the delete option next to the column name.
Saving Changes
Ensure all your modifications are saved correctly to prevent data loss.
Review Your Changes
Before saving, review all the changes you've made to ensure accuracy.
Click Save
Click the Save button to commit your changes.
Confirmation
A confirmation message will appear indicating that your changes have been saved successfully.
Validating and Publishing Changes
After modifying the table structure or data, validate and publish your changes to update the database schema.
Validate Changes
Click on the Validate button to ensure that your changes are correct and do not conflict with existing data.
Publish Changes
Once validation is successful, click on the Publish button to apply your changes to the database schema.
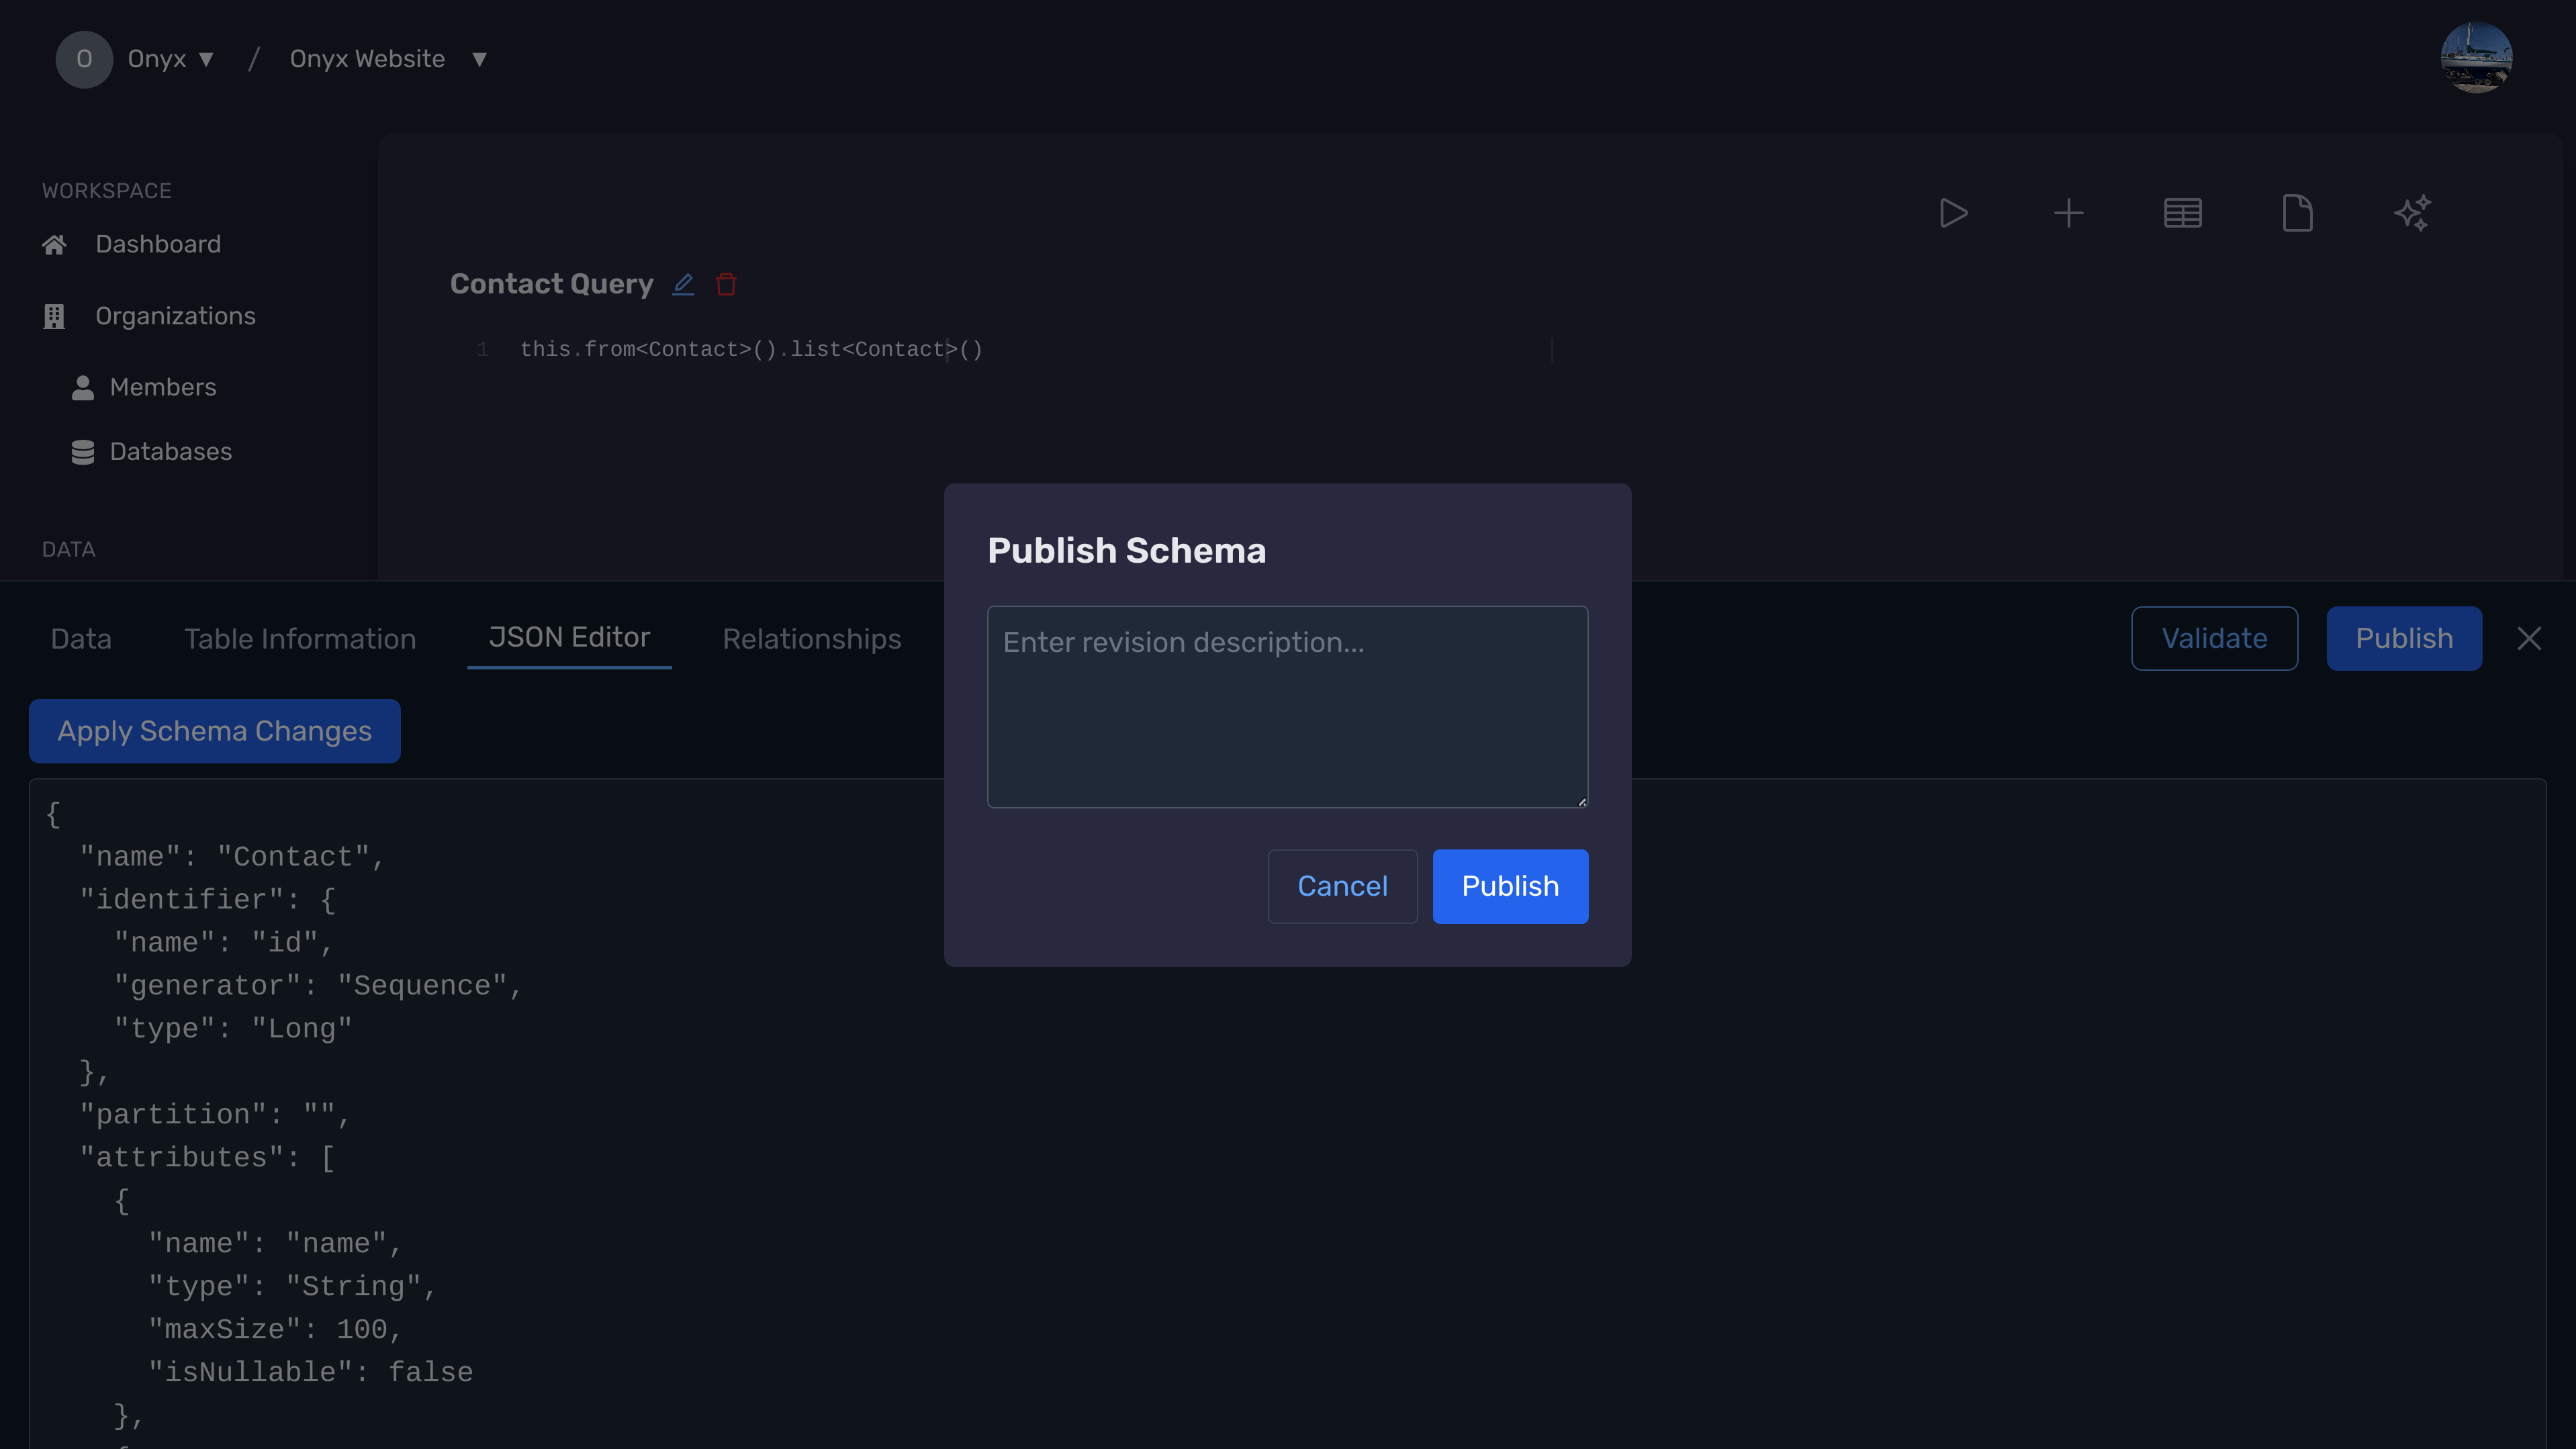
Confirmation
A confirmation message will appear indicating that your changes have been published successfully.
Next Steps
Need Help?
If you have any questions or need assistance:
- Email:support@onyx.dev
- Documentation: Visit ourHelp Centerfor tutorials and FAQs.