Register for an Onyx Cloud account
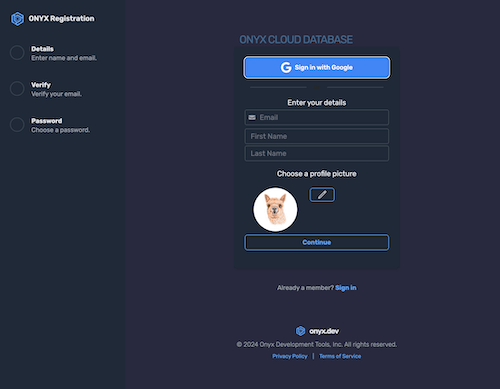
Visit cloud.onyx.dev/register, and create an account.
Finish registration
Submit the form to land in the console. From here you will create your first organization and database.
Navigate to Organizations
In the sidebar, click Organizations to open the organization management page.
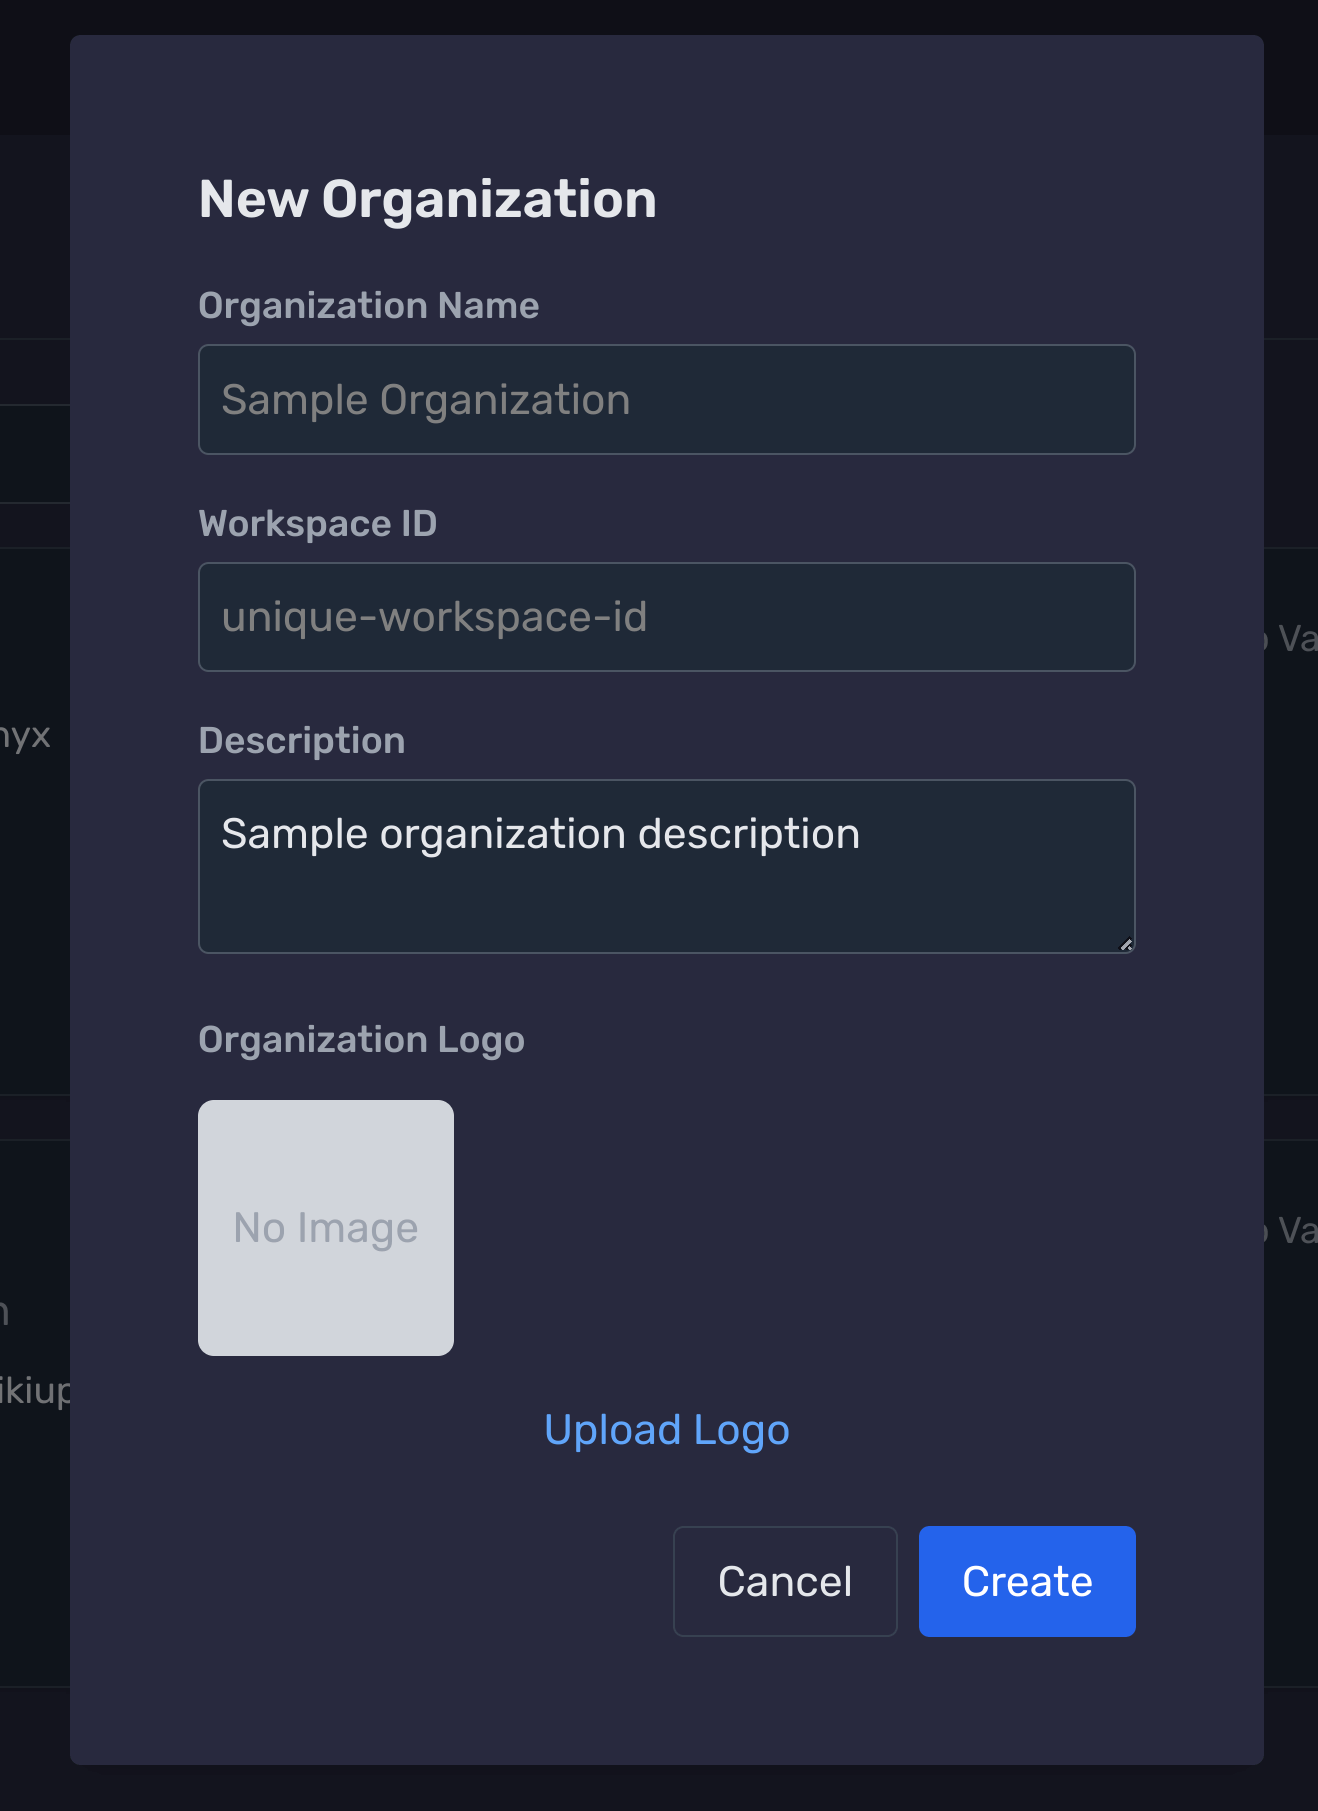
Click '+ New Organization'
Use the + New Organization button to launch the creation modal.
Submit to create the organization
Click Create. You’ll land in the organization dashboard ready for databases and members.
Navigate to the Databases page
In the sidebar, choose Databases from your dashboard.
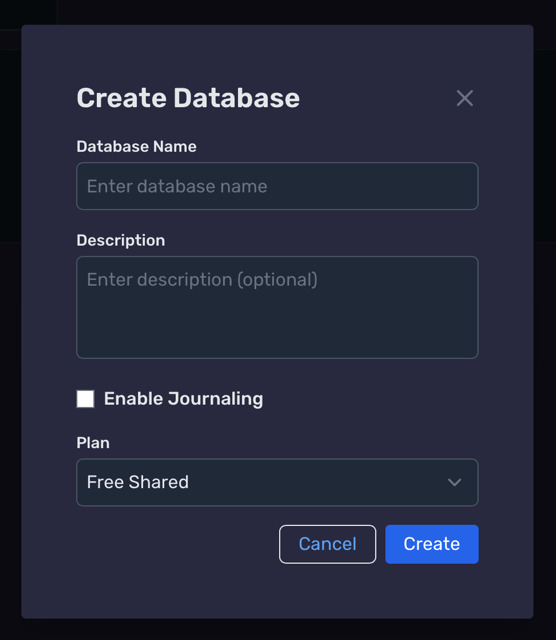
Complete and save Database
Review the inputs and click Create to finalize.
Your new database appears in the list once provisioning finishes.
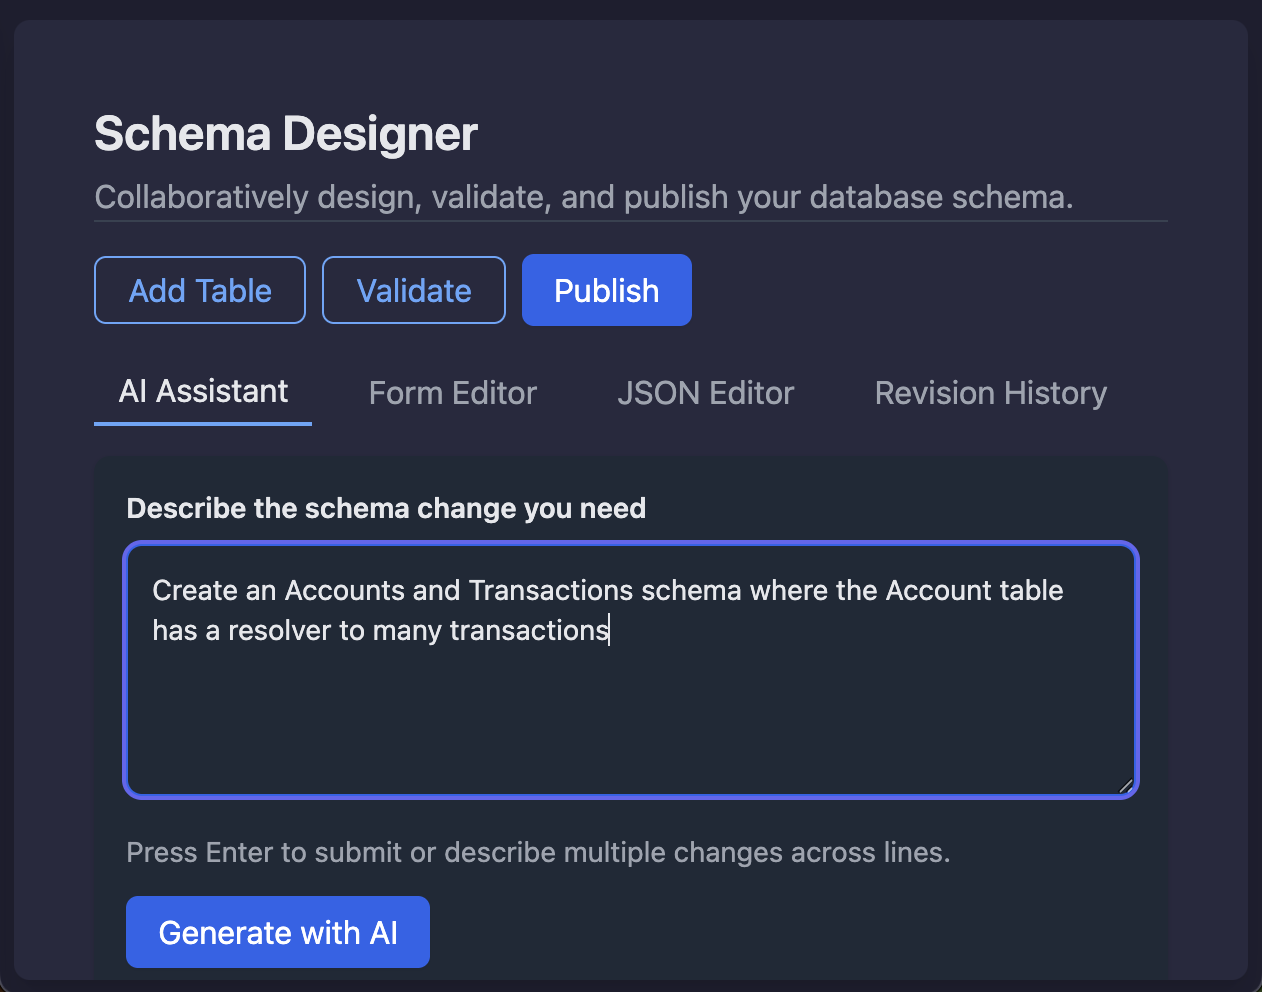
Generate a Schema using AI & Publish
AI Assistant Flow
- 1) Select your database, then open Schema.
- 2) Pick AI Assistant and describe your model.
- 3) Review, click Apply Changes, then Publish.
Sample prompt
“Create an Accounts and Transactions schema where the Account table has a resolver to many transactions.”
The assistant proposes tables, keys, and resolvers; you stay in control by reviewing before publishing.
Take a look at the JSON schema
{
  "tables": [
    {
      "name": "Account",
      "identifier": {
        "name": "accountId",
        "type": "String",
        "generator": "UUID"
      },
      "partition": "",
      "type": "DEFAULT",
      "attributes": [
        { "name": "accountId", "type": "String" },
        { "name": "name", "type": "String" },
        { "name": "balance", "type": "Double" }
      ],
      "indexes": [],
      "resolvers": [
        {
          "name": "transactions",
          "resolver": "db.from(\"Transaction\").where(eq(\"accountId\", this.accountId)).list();"
        }
      ],
      "triggers": [],
      "expanded": false,
      "isEditing": false
    },
    {
      "name": "Transaction",
      "identifier": {
        "name": "transactionId",
        "type": "String",
        "generator": "UUID"
      },
      "partition": "",
      "type": "DEFAULT",
      "attributes": [
        { "name": "transactionId", "type": "String" },
        { "name": "accountId", "type": "String" },
        { "name": "amount", "type": "Double" },
        { "name": "timestamp", "type": "Timestamp" }
      ]
    }
  ]
}
You can manage this schema as JSON, via dashboard forms, with the client SDK CLI tools, or by asking the AI assistant to make changes.
Make your tables searchable
Boost searchability
Switch a table’s type from DEFAULT to SEARCHABLE to add it to the database-wide inverted index and unlock Lucene-style full-text queries.
Run AND/OR, field-scoped, range, and wildcard searches across text fields—only for the tables you opt in.
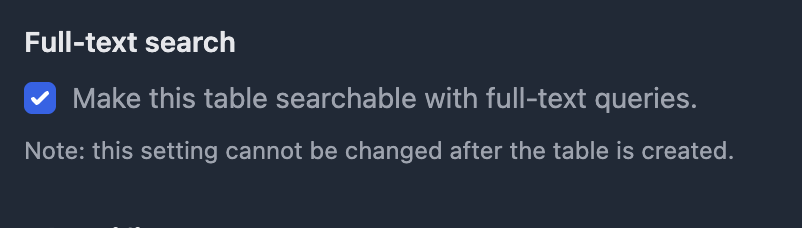
Enable full-text search
Toggle full-text search to push data into the inverted index.
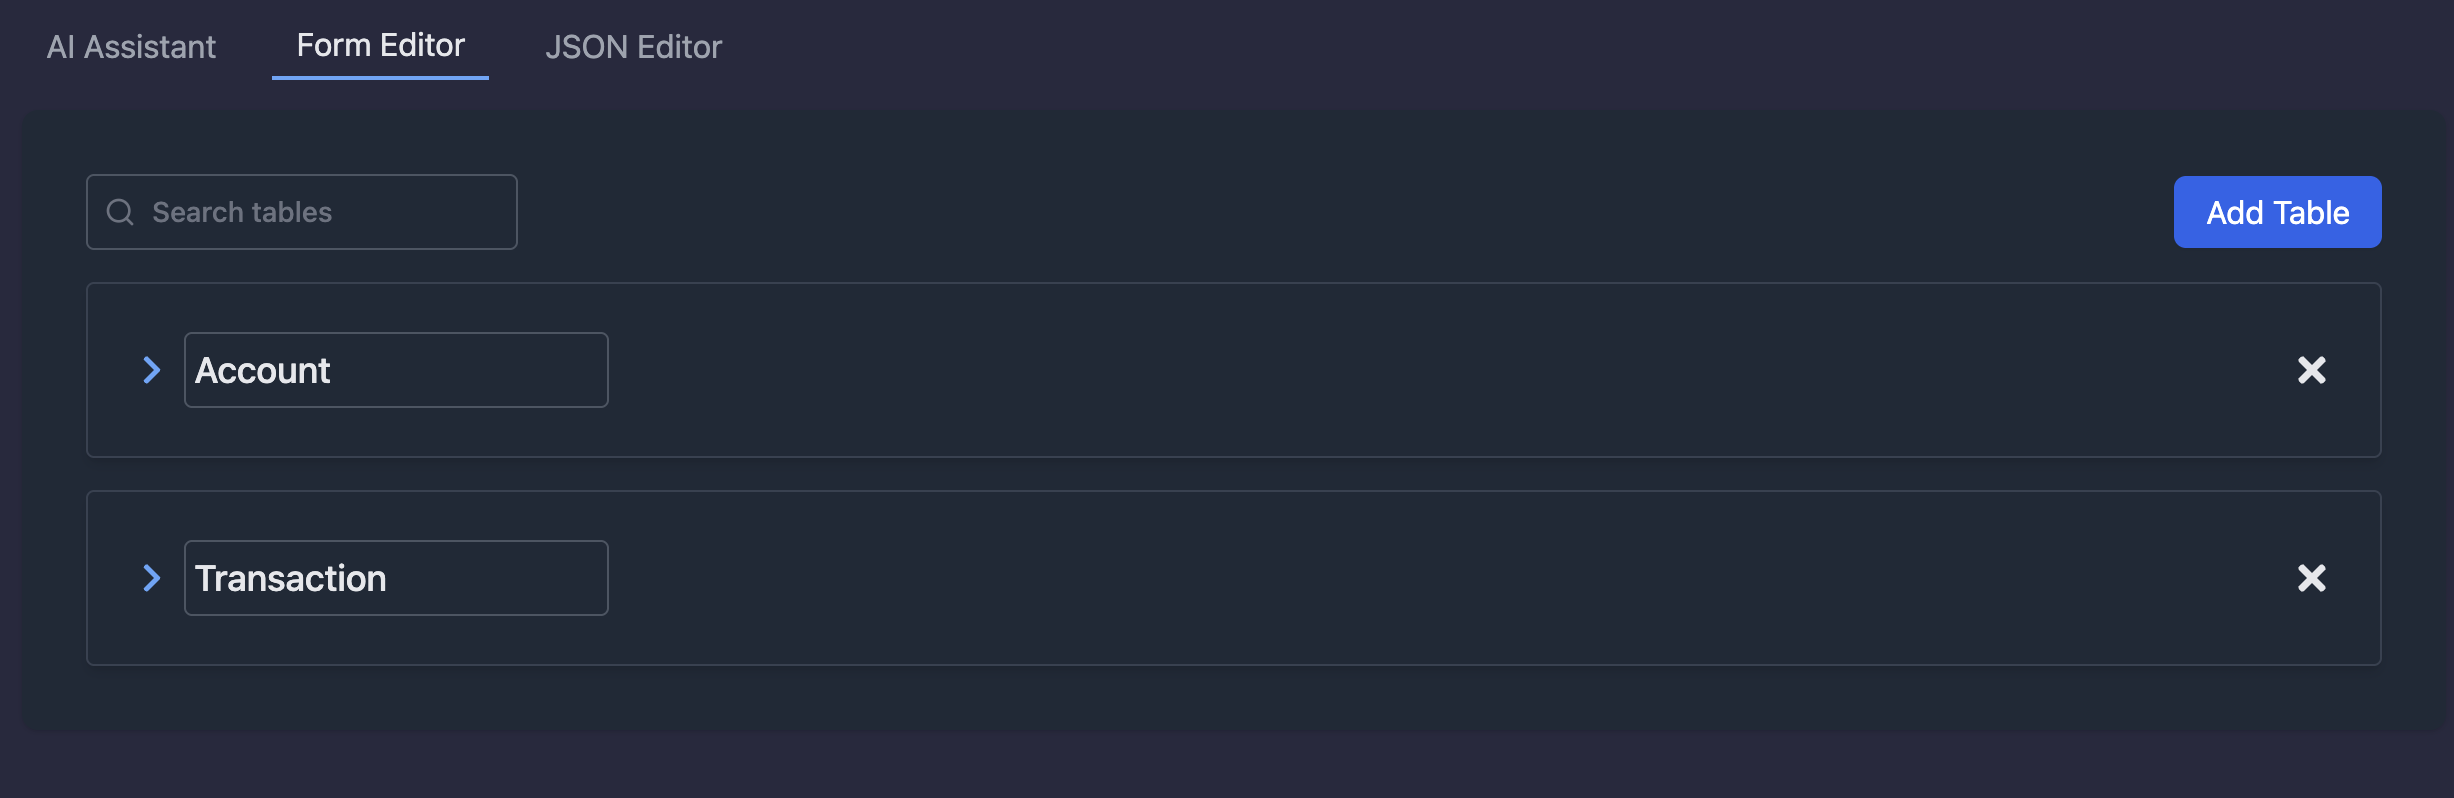
Form Editor
You open tables in the Form Editor to make changes to the schema.
Add index (optional)
You can also add attribute-level indexes to speed up lookups on frequently filtered fields.

Setup API Access
Create an API key in the dashboard
- Go to Manage Database → API Keys → Create API Key.
- Choose READ_WRITE as the Access Key Type (Expiration optional).
- Download the config file or copy values into your environment.
.
├── onyx-database.json
export ONYX_DATABASE_ID="db_123"
export ONYX_DATABASE_BASE_URL="https://api.onyx.dev"
export ONYX_DATABASE_API_KEY="key_abc"
export ONYX_DATABASE_API_SECRET="secret_xyz"
Setup Onyx CLI tooling
Install the onyx-cli
brew tap OnyxDevTools/onyx-cli
brew install onyx-cli
onyx info
Retrieve your schema
onyx schema get
Downloads to ./onyx.schema.json by default.
Generate typed client stubs
onyx gen --ts   # TypeScript
onyx gen --go   # Go
onyx gen --py   # Python
onyx gen --java # Java
onyx gen --kt   # Kotlin
Outputs language-specific types to sensible defaults (see CLI README).
More CLI commands
| Command | Purpose |
|---|---|
| onyx info | Tests the connection to your database. |
| onyx schema validate ./onyx.schema.json | Validate local schema changes. |
| onyx schema diff | Show changes before publishing. |
| onyx gen | Generate types for tables, and schema helpers. |
| onyx schema publish | Publish the local schema to your remote database. |
Full reference: onyx-cli README
Initialize Onyx in your app
import { onyx } from '@onyx.dev/onyx-database';
const db = onyx.init();Save data
await db.save('Account', { id: 'acct_1', name: 'Checking', balance: 1250 });Get data
const accounts = await db.from('Account').list();
const account = await db.from('Account').find('acct_1');Update data
await db.update('Account', 'acct_1', { balance: 1400 });Delete data
await db.delete('Account', 'acct_1');Access AI Responses
const answer = db.chat("What is the total balance across all accounts")Integrate
Query patterns
Chain filters, sorts, aggregates, and Lucene search across every SDK.
Multi-filter: status + range + text match
Combine boolean, numeric, and fuzzy text filters in one chain.
const results = await db
  .from('Transaction')
  .where(
    eq('status', 'posted')
      .and(gt('amount', 100))
      .and(gte('createdAt', '2025-01-01'))
      .and(contains('merchant', 'aws'))
  )
  .list();
Sorted feed: filter + order + limit
Use ordering and limits to ship feeds and dashboards.
const recent = await db
  .from('Transaction')
  .where(eq('accountId', 'acct_1'))
  .orderBy(desc('createdAt'))
  .limit(25)
  .list();
Rollups: group by + sum
Aggregate metrics for dashboards or billing summaries.
const totals = await db
  .select(sum('amount'), 'merchant')
  .from('Transaction')
  .where(eq('status', 'posted'))
  .groupBy('merchant')
.list();Global full-text search (Lucene syntax)
Query the inverted index across all searchable tables with field scoping, boolean logic, and wildcards.
const hits = await db.search('error AND status:active').list();Integrate
3.5SDK GitHub Repos
Jump straight to the language docs.