Managing Your Database Schema
This guide will walk you through the processes of managing your database schema using the Onyx Cloud Database dashboard. You will learn how to edit your schema, define identifiers, set partitions, manage indexes, validate your schema, and publish changes to ensure your database remains consistent and efficient.
Introduction
Managing your database schema is crucial for maintaining the integrity and performance of your applications. This guide covers the essential steps to effectively manage, validate, and publish your schema changes.
Accessing the Schema Editor
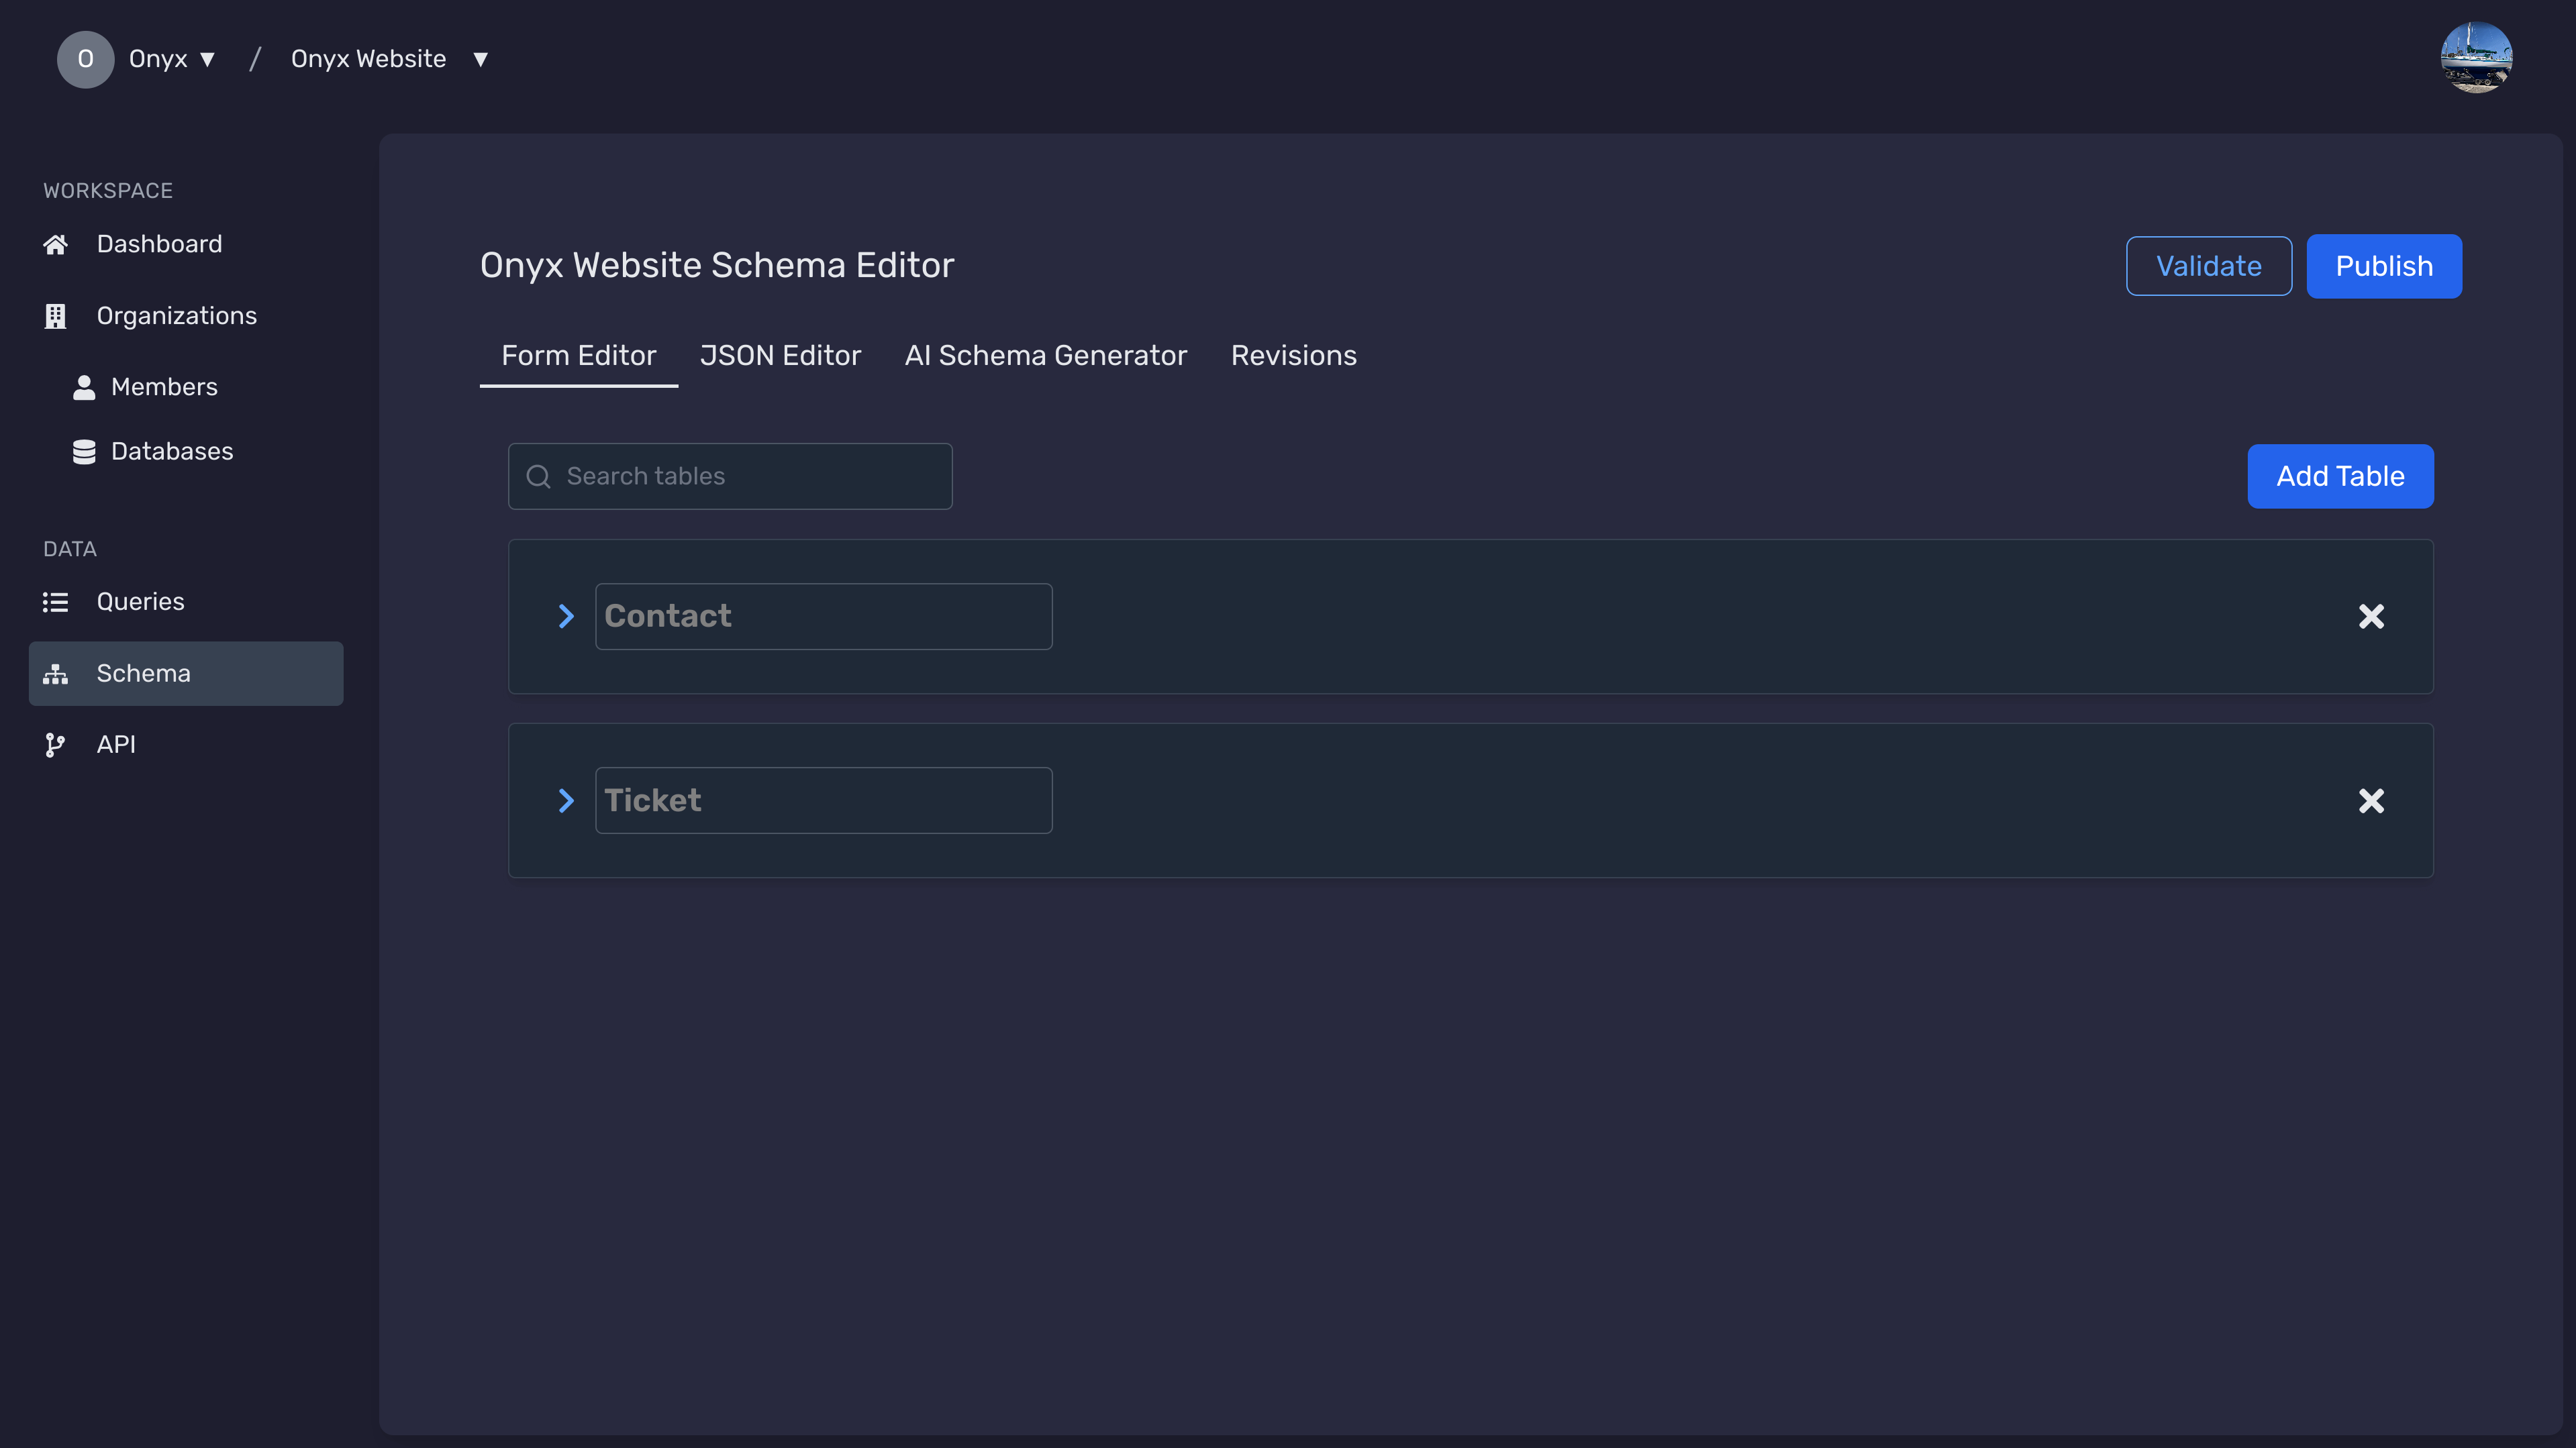
To begin managing your schema, access the Schema Editor through your dashboard.
Select Your Database
From the dashboard, select the database you wish to manage from the list of your databases.
Open the Schema Editor
Click on the Schema Editor tab to open the interface where you can manage your database schema.

Managing Your Schema
The Schema Editor allows you to add, modify, or remove tables and their attributes to define the structure of your database.
Add a New Table
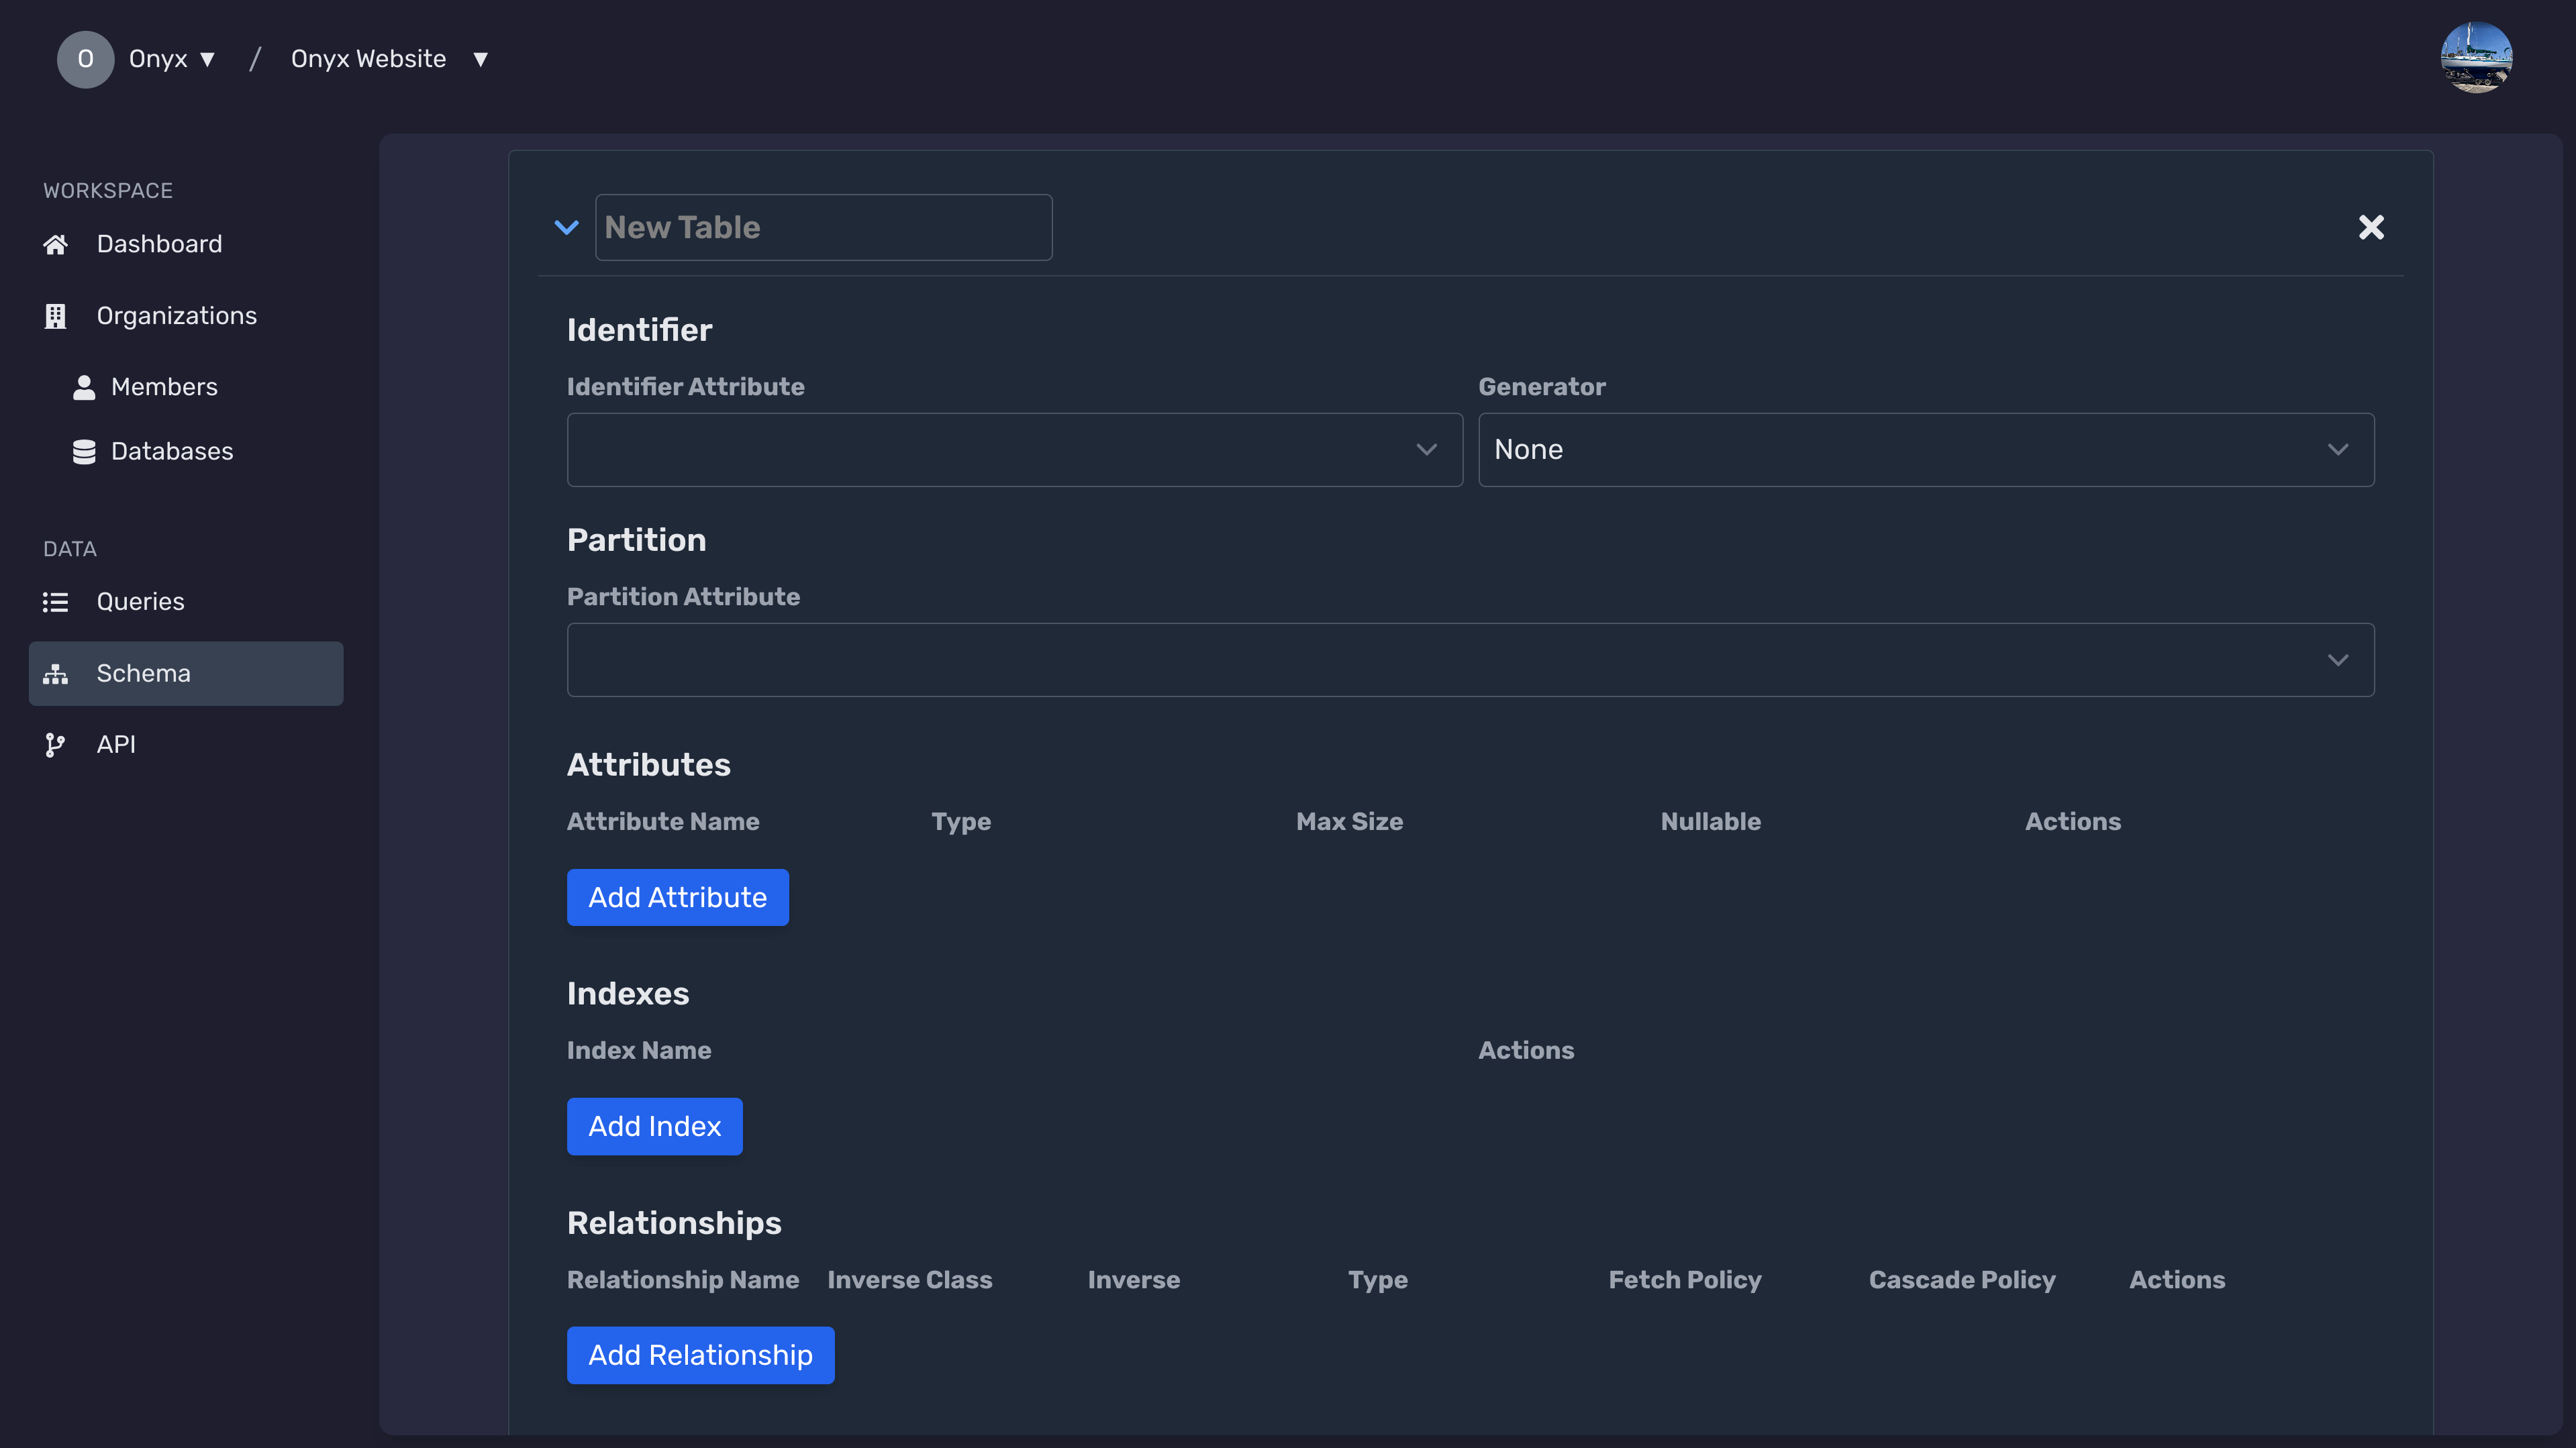
Click on the Add Table button to create a new table in your schema.

Define Table Attributes
Within the new table, define its attributes by specifying the name, type, and other properties.
Set Relationships
Establish relationships between tables by defining foreign keys and specifying relationship types.
Save Changes
After making your changes, ensure you save them by clicking the Validate button. In order to save the schema you must publish the schema.
Defining Identifiers
Identifiers are essential for uniquely identifying records within a table. Defining a primary key ensures data integrity and optimizes query performance.
Select Identifier Attribute
In the Schema Editor, navigate to the Identifier section. Select an attribute to serve as the primary identifier from the dropdown menu.
Choose Identifier Generator
Choose an appropriate generator for your identifier. Options typically include:
- None: Manually manage identifiers.
- UUID: Automatically generate unique identifiers.
- Auto-Increment: Automatically increment numerical identifiers.
Save Identifier Settings
After selecting the identifier attribute and generator, click Publish to apply the changes.
Setting Partitions
Partitioning helps in organizing data efficiently, improving query performance, and managing data lifecycle.
Navigate to Partition Section
In the Schema Editor, locate the Partition section within the table you are managing.
Select Partition Attribute
Choose an attribute to partition the table. This attribute should align with your data access patterns and scalability requirements.
Apply Partition Settings
After selecting the partition attribute, click Publish to apply the partition settings to your table.
Managing Indexes
Indexes improve the speed of data retrieval operations on your database tables. Proper indexing is vital for query optimization and overall database performance.
Access Indexes Section
Within the Schema Editor, navigate to the Indexes section of the table you wish to index.
Add a New Index
Click on the Add Index button to create a new index.
Define Index Attributes
Specify the index name and select one or more attributes that the index will cover. Ensure that the selected attributes align with your query patterns.
Save Index Settings
After defining the index attributes, click Publish to apply the index to your table.
Validating Your Schema
Validation ensures that your schema adheres to the required standards and constraints before publishing.
Initiate Validation
After making changes to your schema, click on the Validate button to initiate the validation process.
Review Validation Results
Upon completion, review the validation results. If there are errors or warnings, address them accordingly.
Resolve Issues
Make necessary adjustments to your schema based on the validation feedback and re-validate until your schema is error-free.
Publishing Your Schema
Once your schema is validated, you can publish it to apply the changes to your live database.
Open Publish Modal
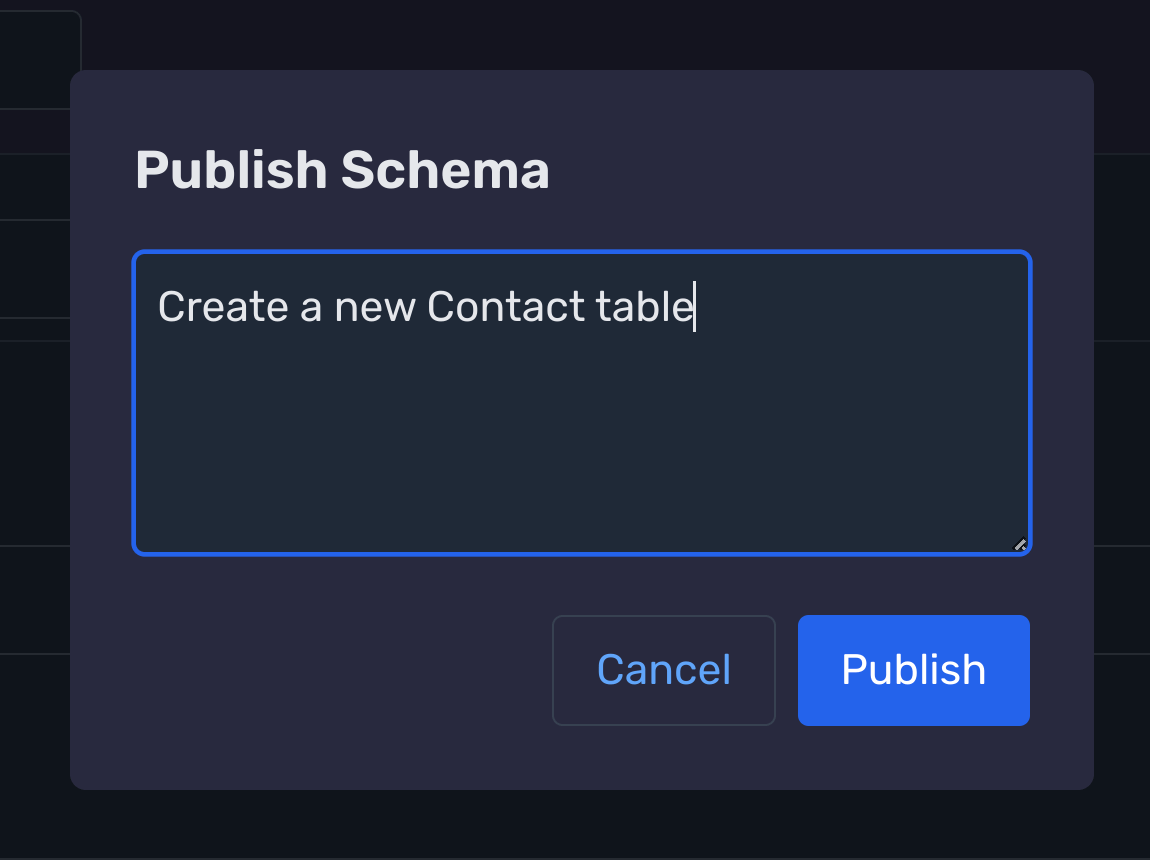
Click on the Publish button to open the publishing modal.
Enter Revision Description
In the modal, provide a Revision Description detailing the changes being published.

Confirm Publishing
After entering the revision description, click on the Publish button to apply the changes.
Review Published Schema
Once published, review the updated schema to ensure all changes have been applied correctly.
Next Steps
Need Help?
If you have any questions or need assistance:
- Email:support@onyx.dev
- Documentation: Visit ourHelp Centerfor tutorials and FAQs.
