Managing Your Database Schema in Onyx Cloud
Learn how to effectively use the Form Editor, JSON Editor, and AI Schema Generator to manage your Onyx Cloud Database schema. This guide will also show you how to validate, publish, and maintain a revision history of your schemas.
Overview
The Onyx Cloud Database schema management interface empowers you to:
- Form Editor: A user-friendly, visual interface for managing tables, attributes, relationships, indexes, and partitions.
- JSON Editor: Full control to edit and apply schema changes directly using JSON.
- AI Schema Generator: Leverage AI assistance to build or modify complex schemas.
- Validation & Publishing: Ensure your schema is correct and push changes live with a revision description.
- Revision History: Keep track of your schema changes over time and revert to previous versions if needed.
Using the Form Editor
The Form Editor provides a structured, visual approach to managing your schema. You can add new tables, define attributes, set up relationships, and index your data without writing a single line of code.
Access the Schema Editor
Navigate to the Schema section from your main sidebar navigation. Once you're on the schema management page, select the Form Editor tab.
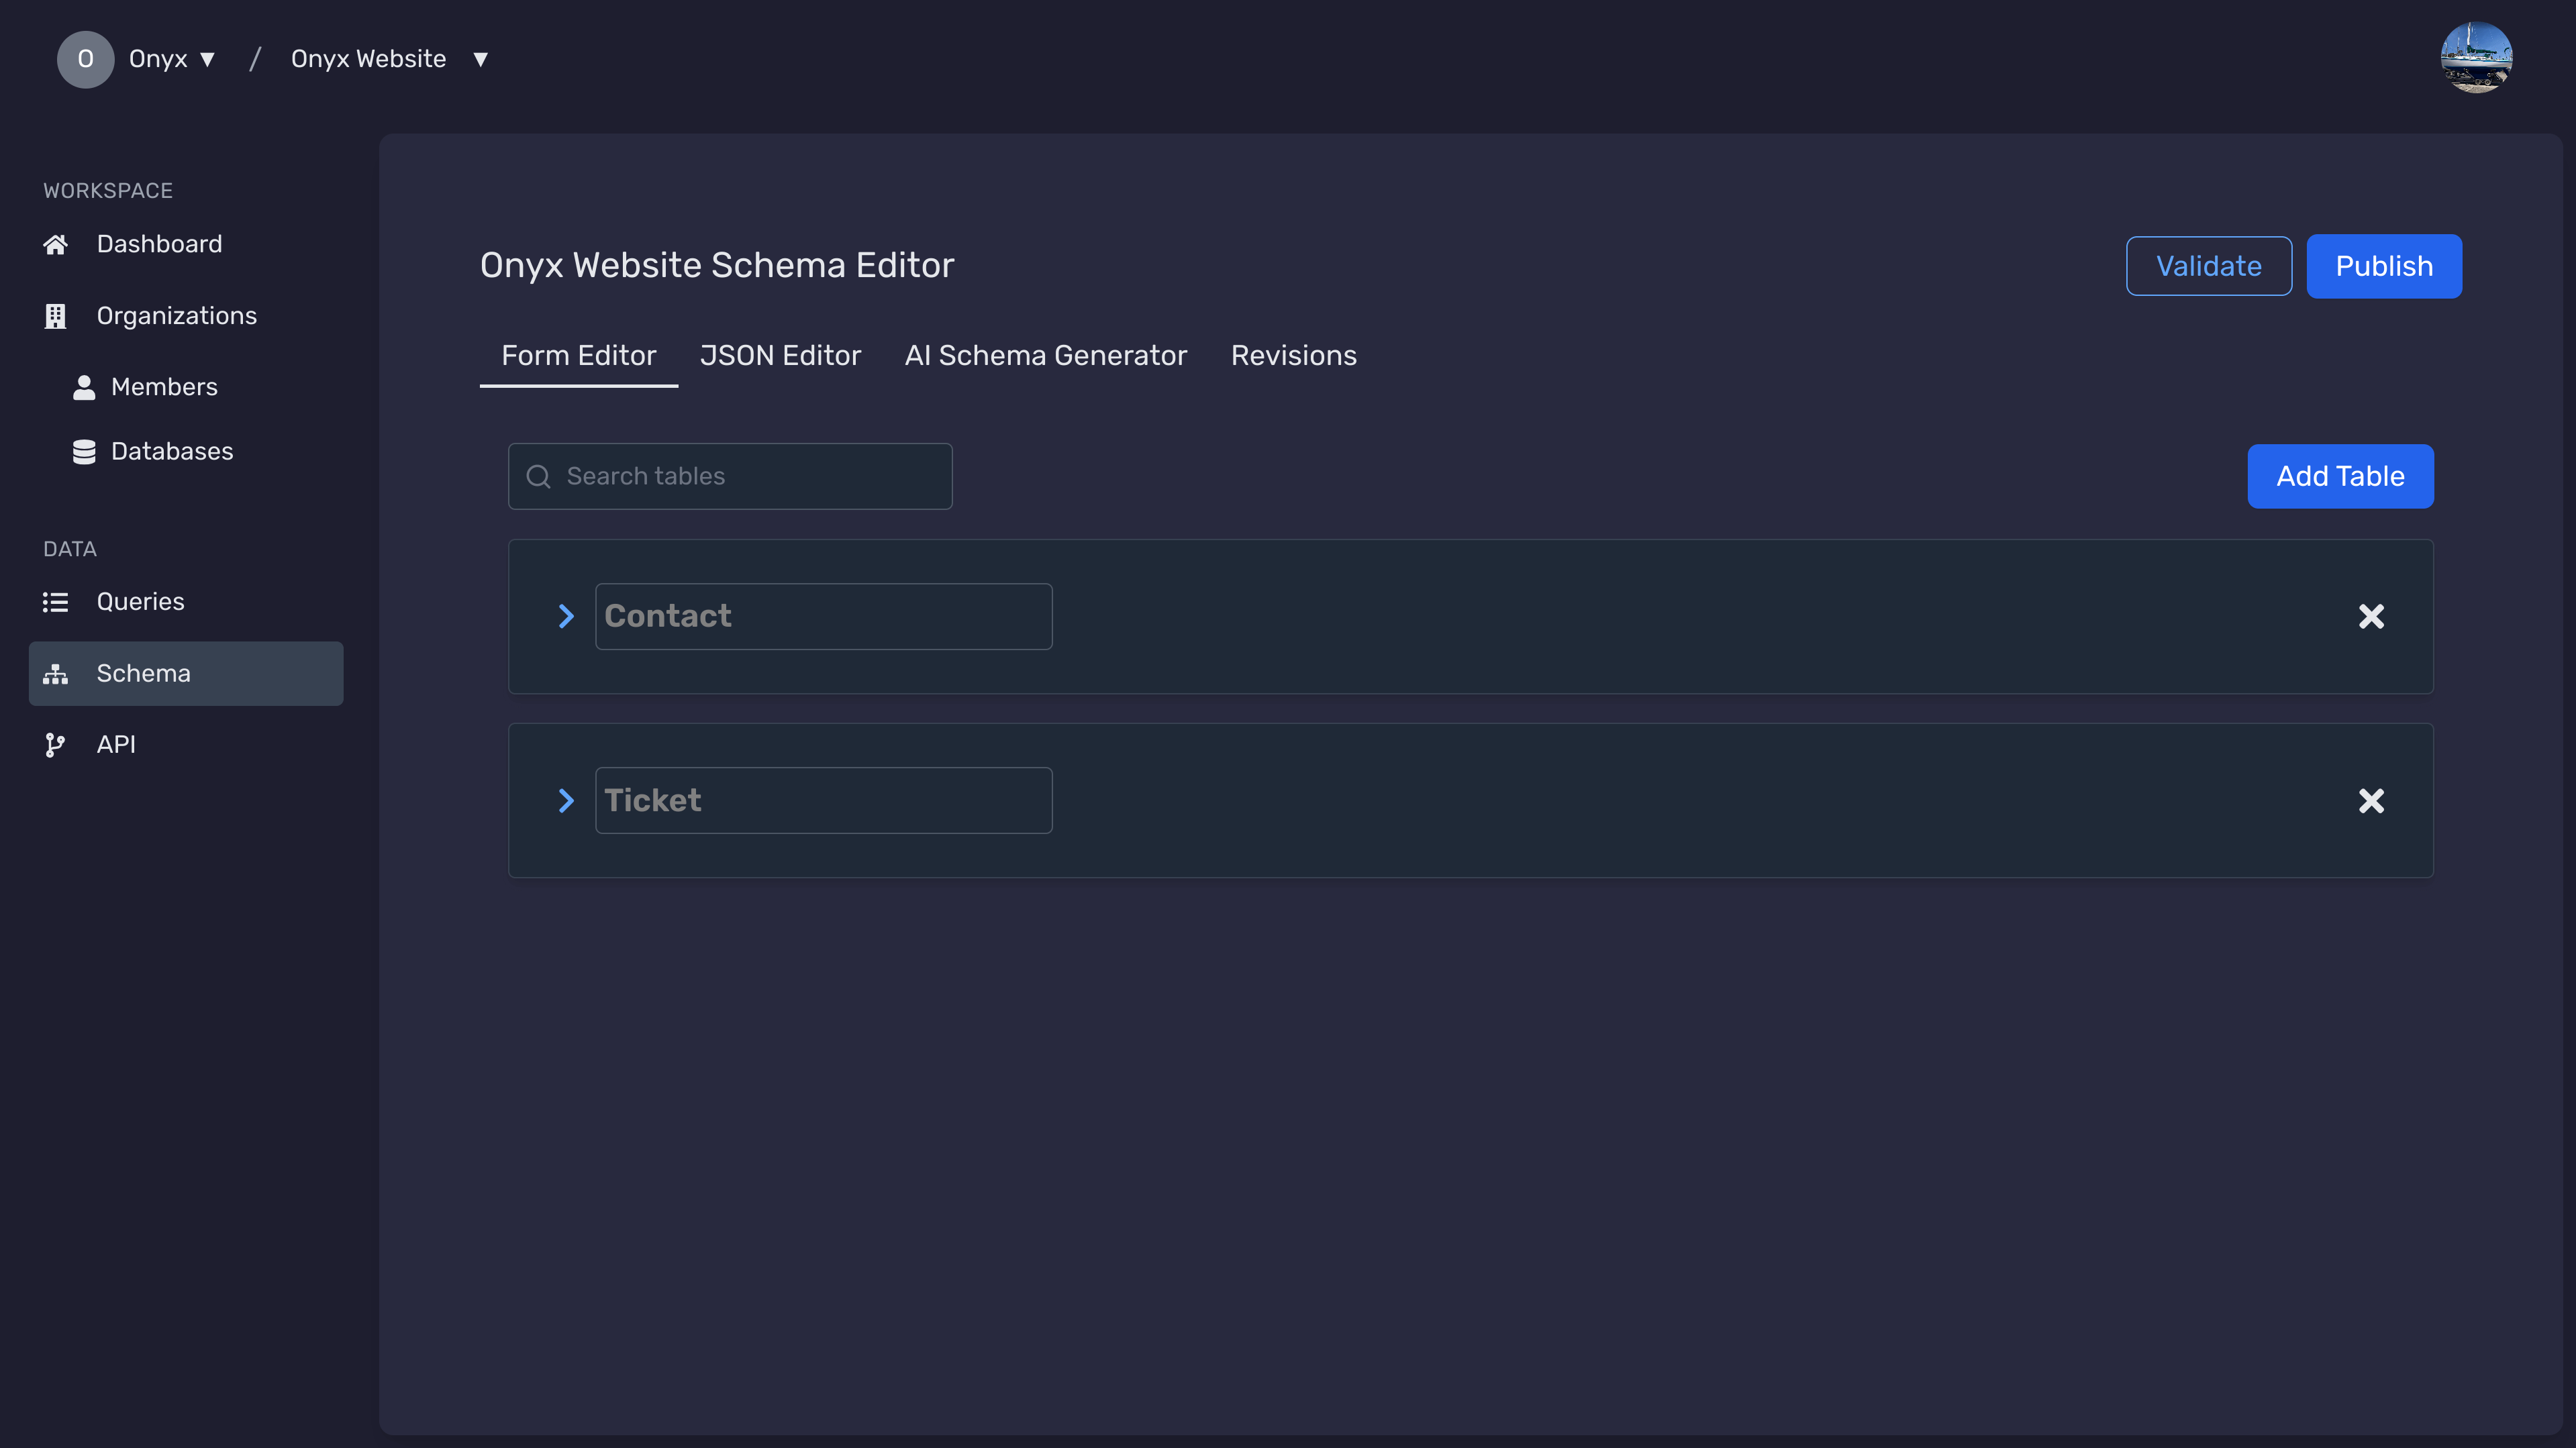
Add or Modify Tables
Click Add Table to create a new table. Edit existing tables by changing their names, identifiers, partitions, and attributes.
Manage Attributes, Indexes, and Relationships
For each table:
- Attributes: Add columns and specify data types, size, and nullability.
- Indexes: Optimize queries by creating indexes on frequently queried attributes.
- Relationships: Define how tables relate (one-to-one, one-to-many, many-to-many) and control fetch/cascade policies.
Using the JSON Editor
The JSON Editor provides direct access to the underlying schema definition. This is ideal for advanced users who prefer full customization without the constraints of a graphical interface.
Switch to JSON View
Click on the JSON Editor tab to view and edit the schema in JSON format. Any changes you make here can be applied directly to the schema.
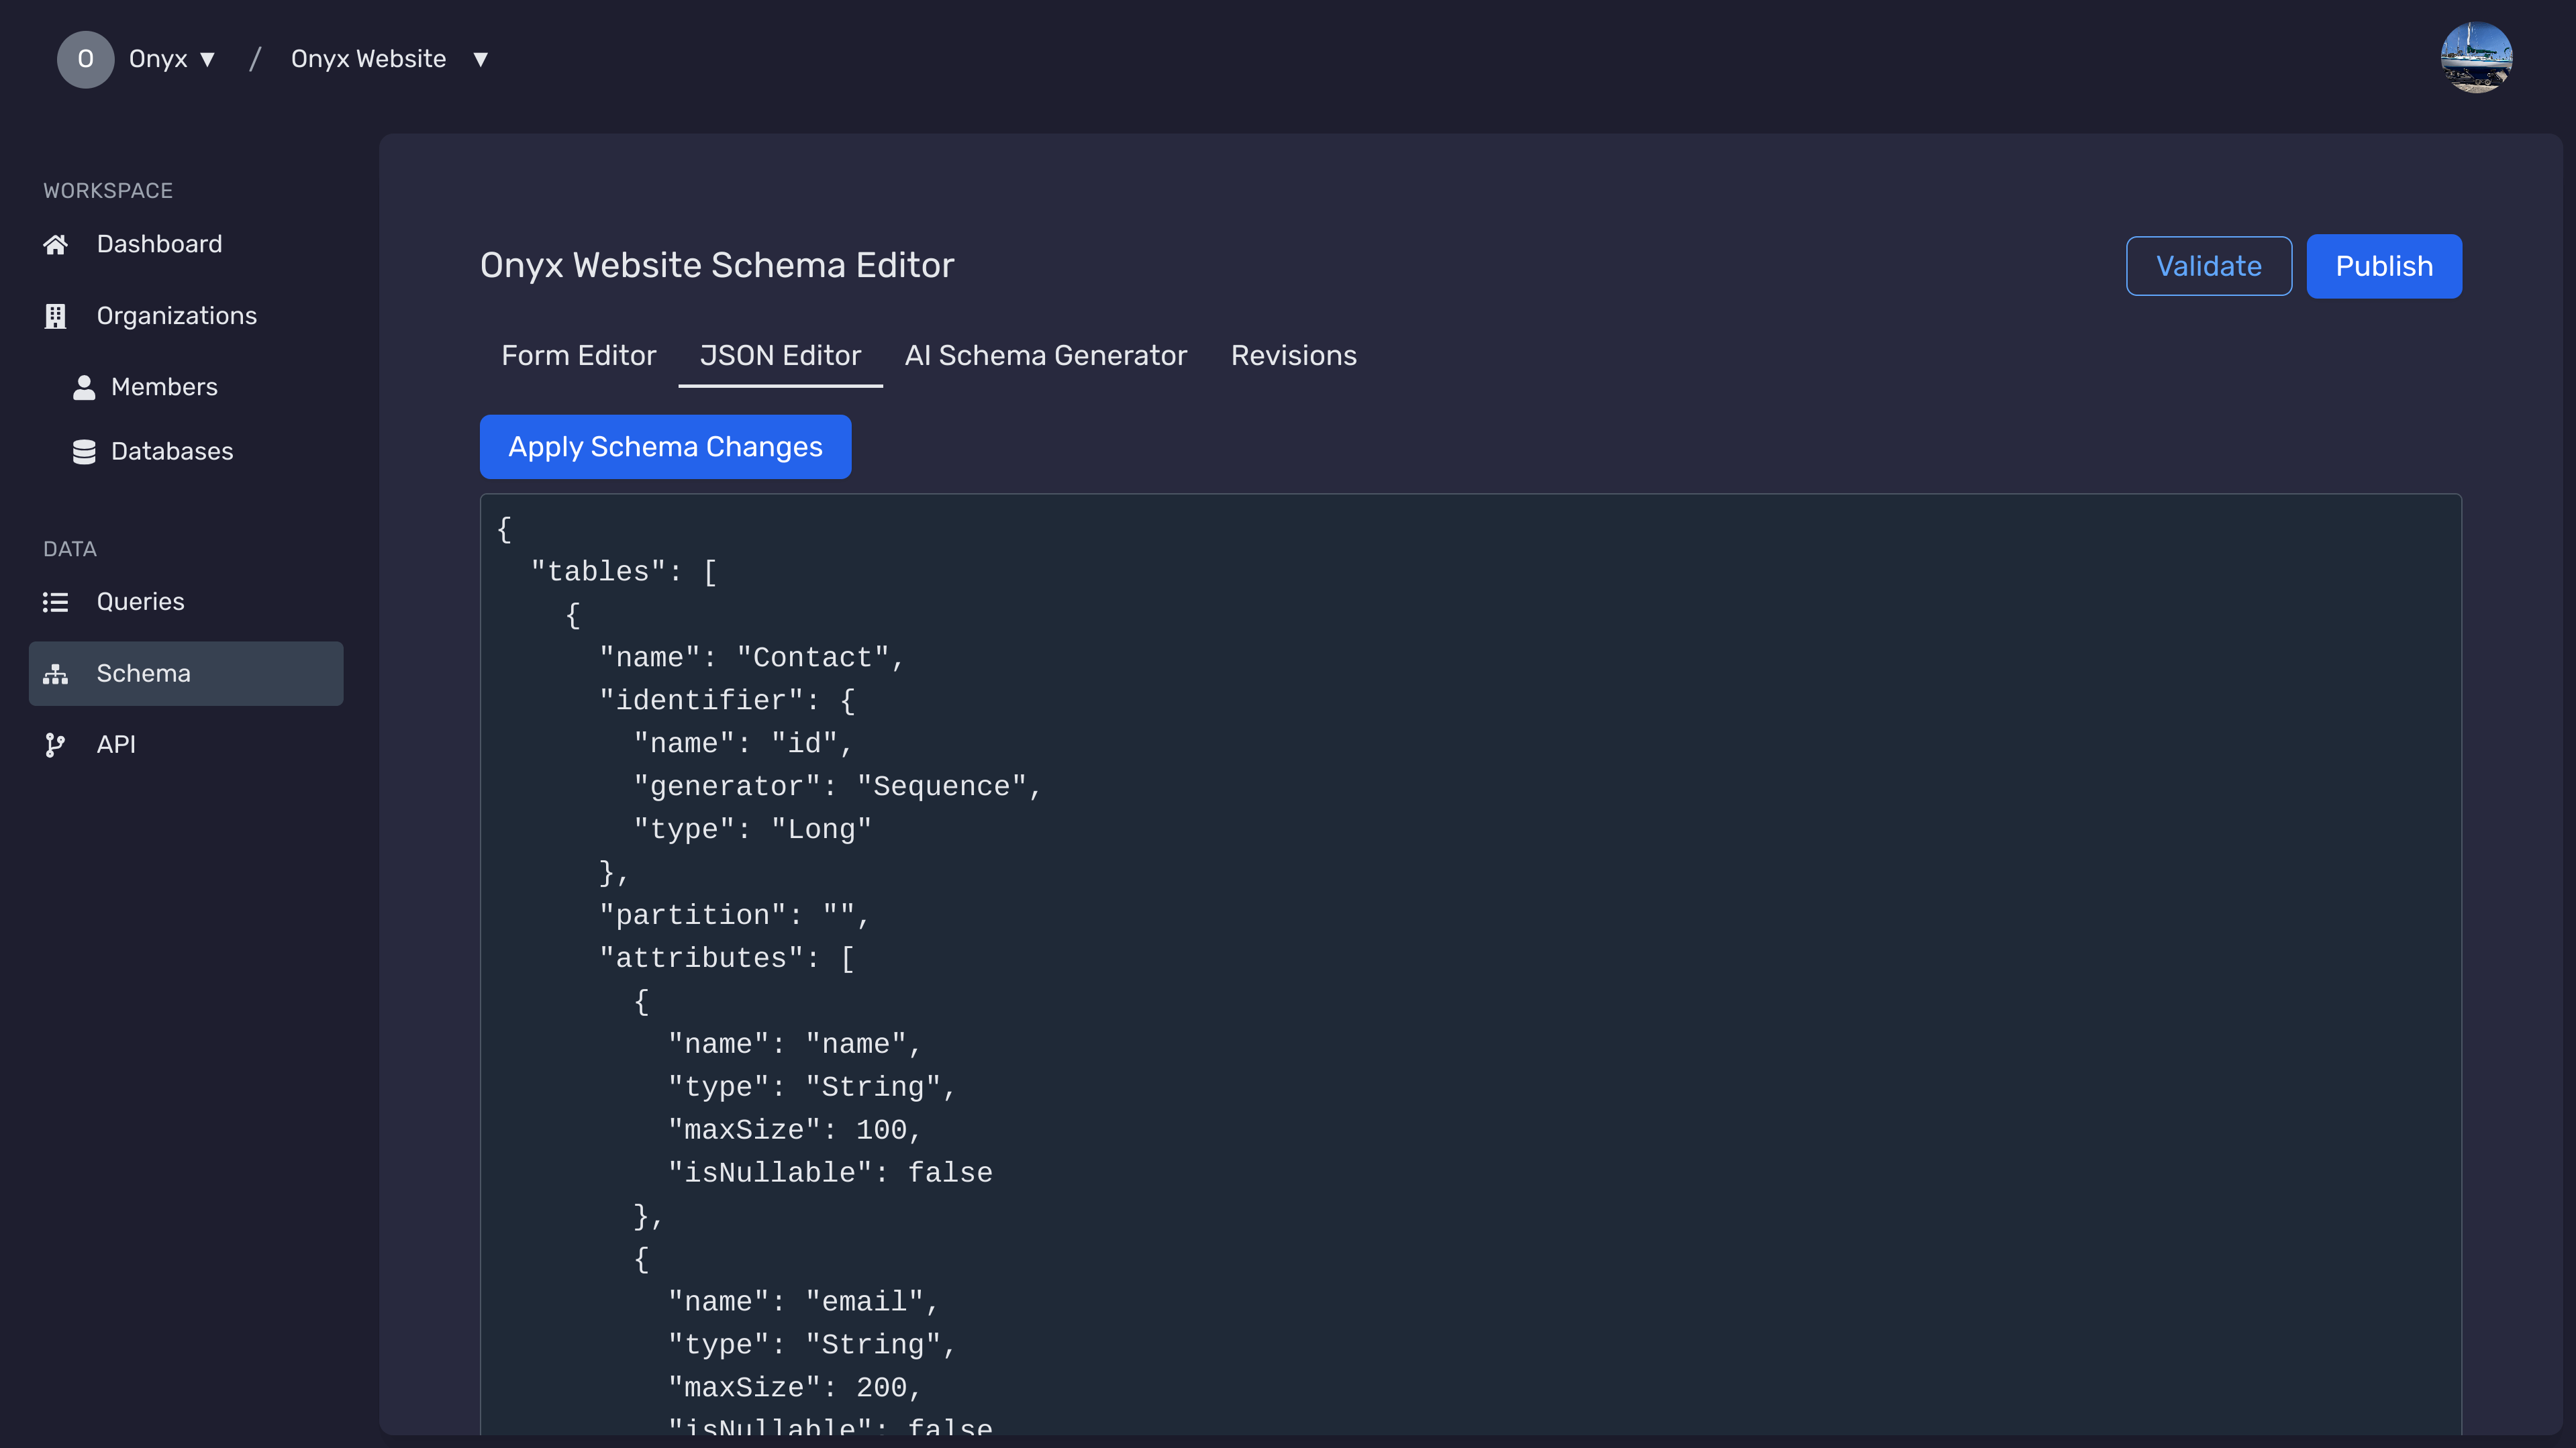
Edit and Apply Changes
Modify the schema structure, attributes, and relationships as needed. Once done, click Apply Schema Changes to commit these updates.
Using the AI Schema Generator
Leverage the AI Schema Generator to automatically suggest or enhance your schema without leaving the Schema Editor. The assistant now streams human-readable summaries, prepares Monaco-powered diffs, and can even retry changes automatically if validation fails.
Open the AI Schema Assistant
Click the AI Schema Generator tab to access the dedicated workspace. The assistant pre-loads the latest schema context—including identifiers, resolvers, and triggers—so the AI understands your current structure before it starts generating updates.
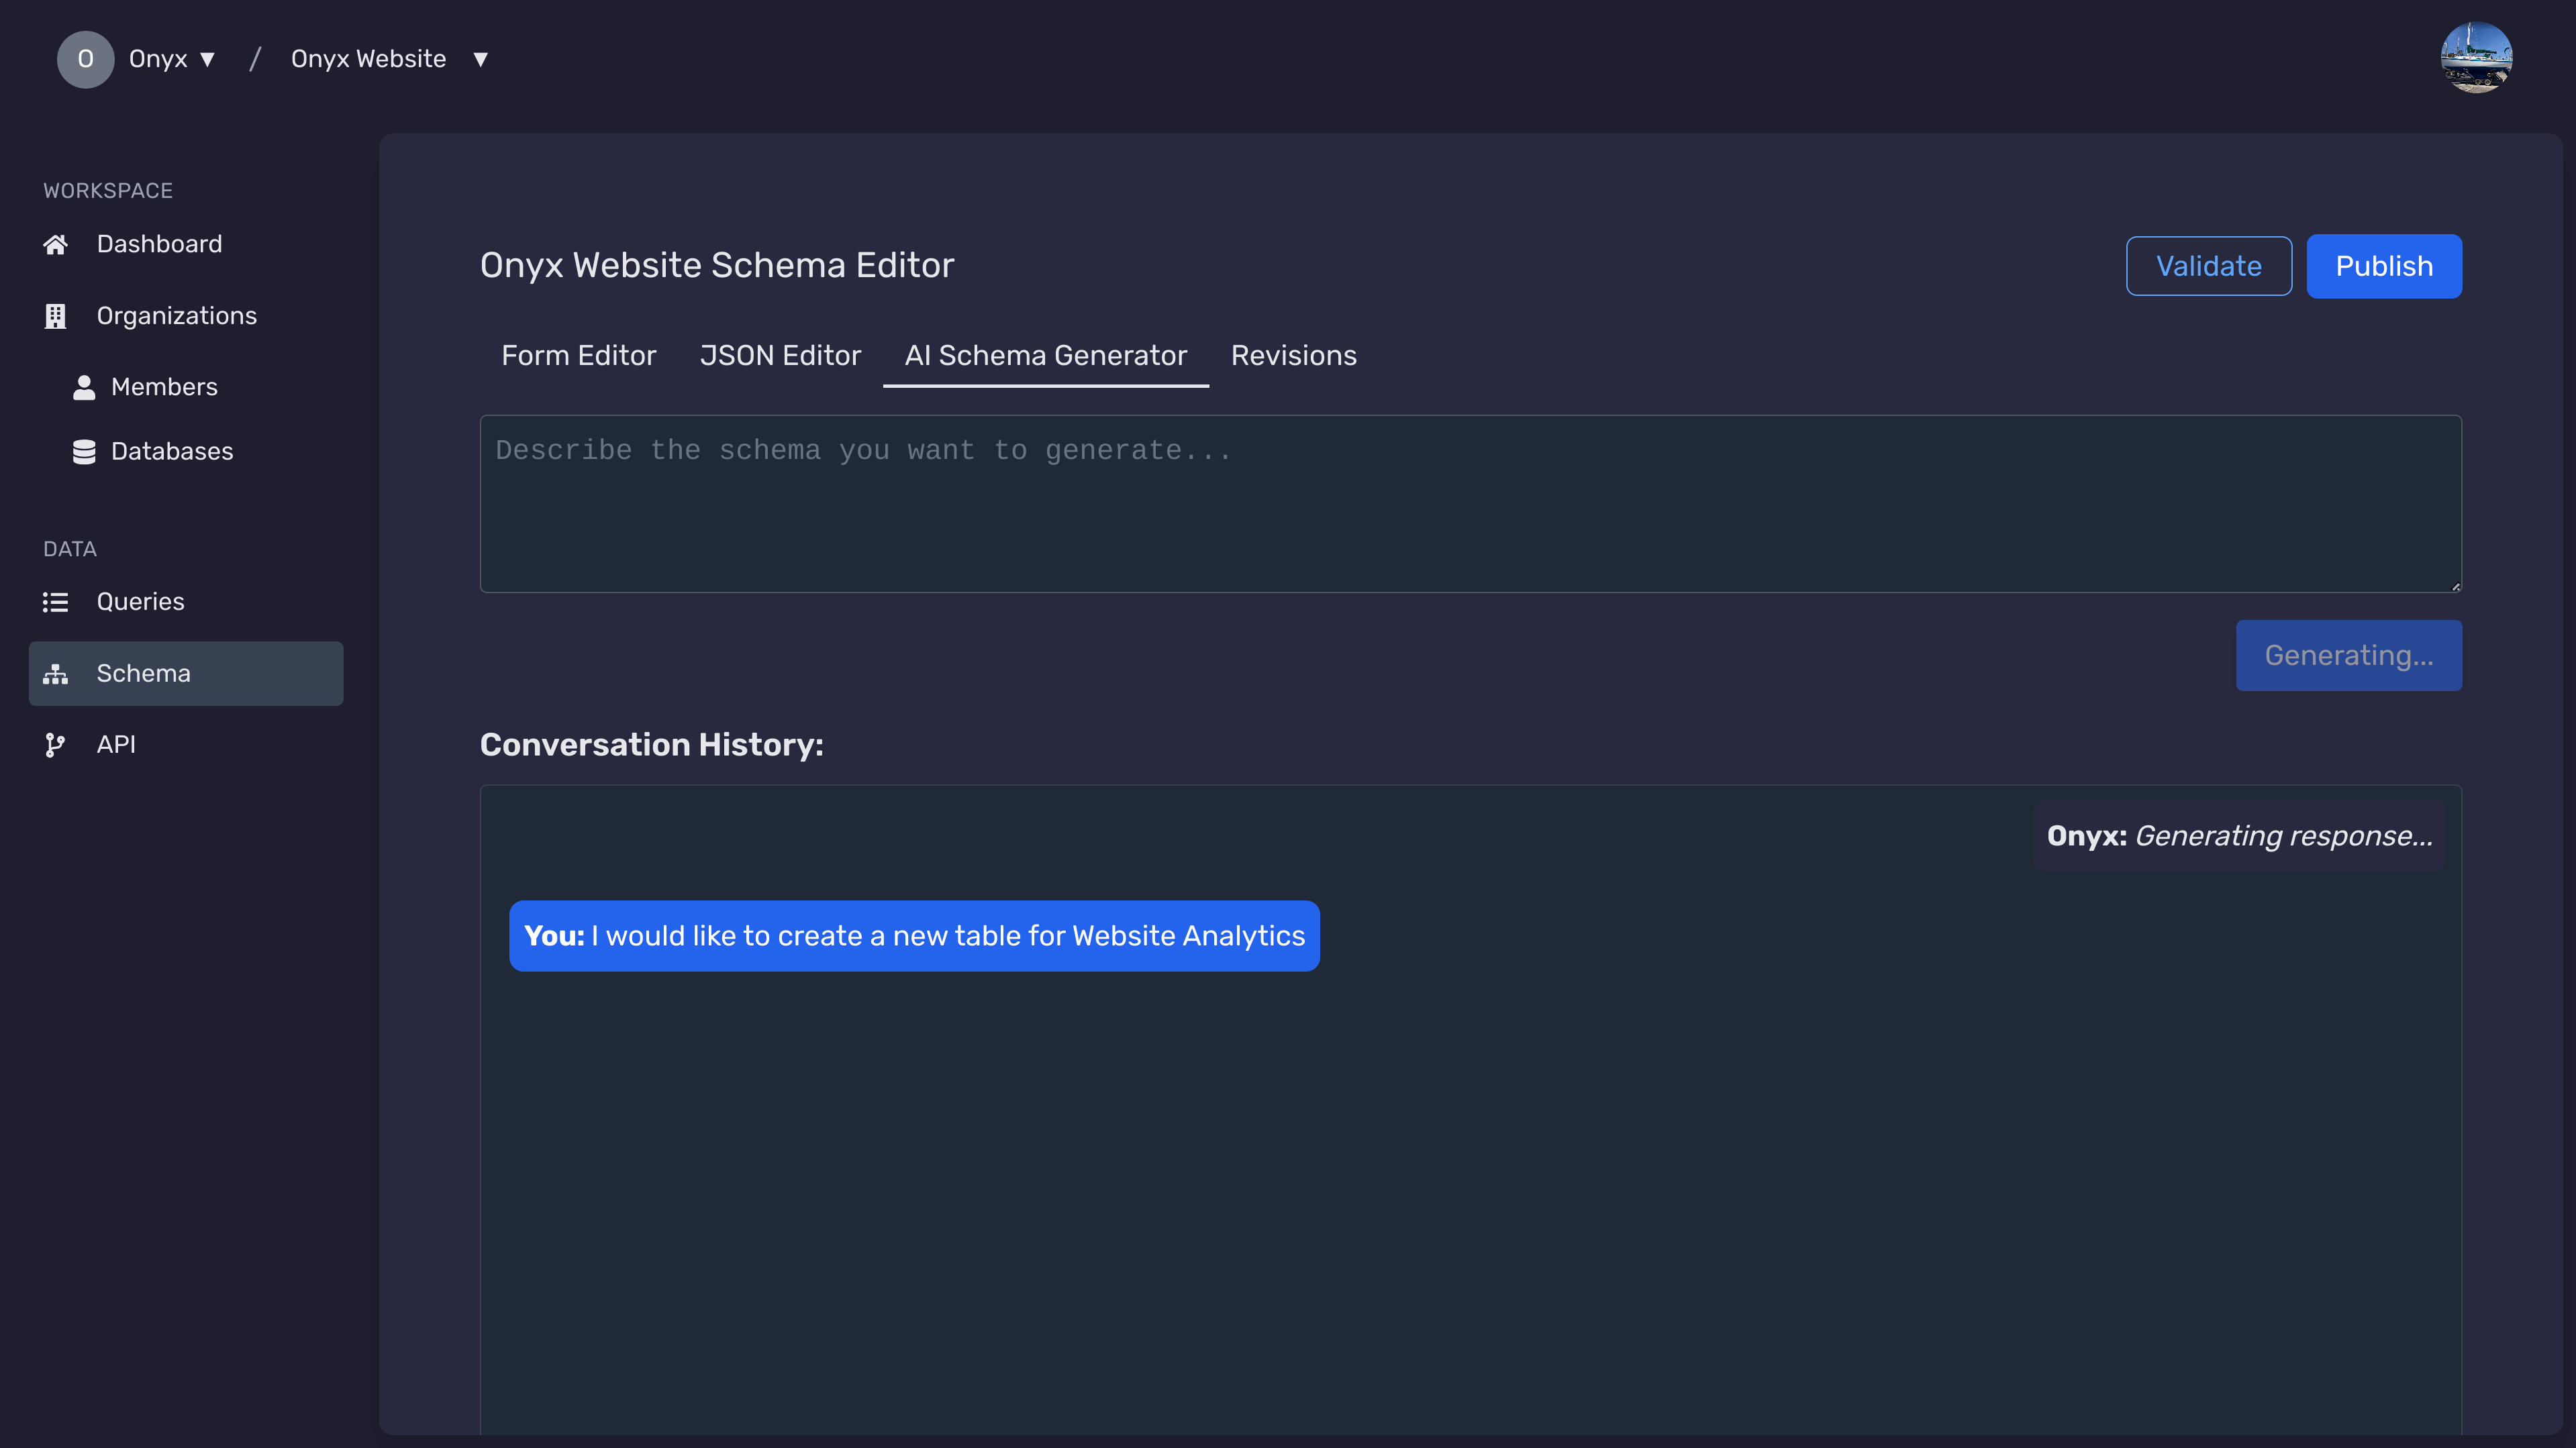
Describe the changes you need
Enter a natural-language prompt that covers the tables, attributes, resolvers, or triggers you want to create or modify. The AI streams a live status message beneath the prompt and renders a rich HTML summary card as results arrive.
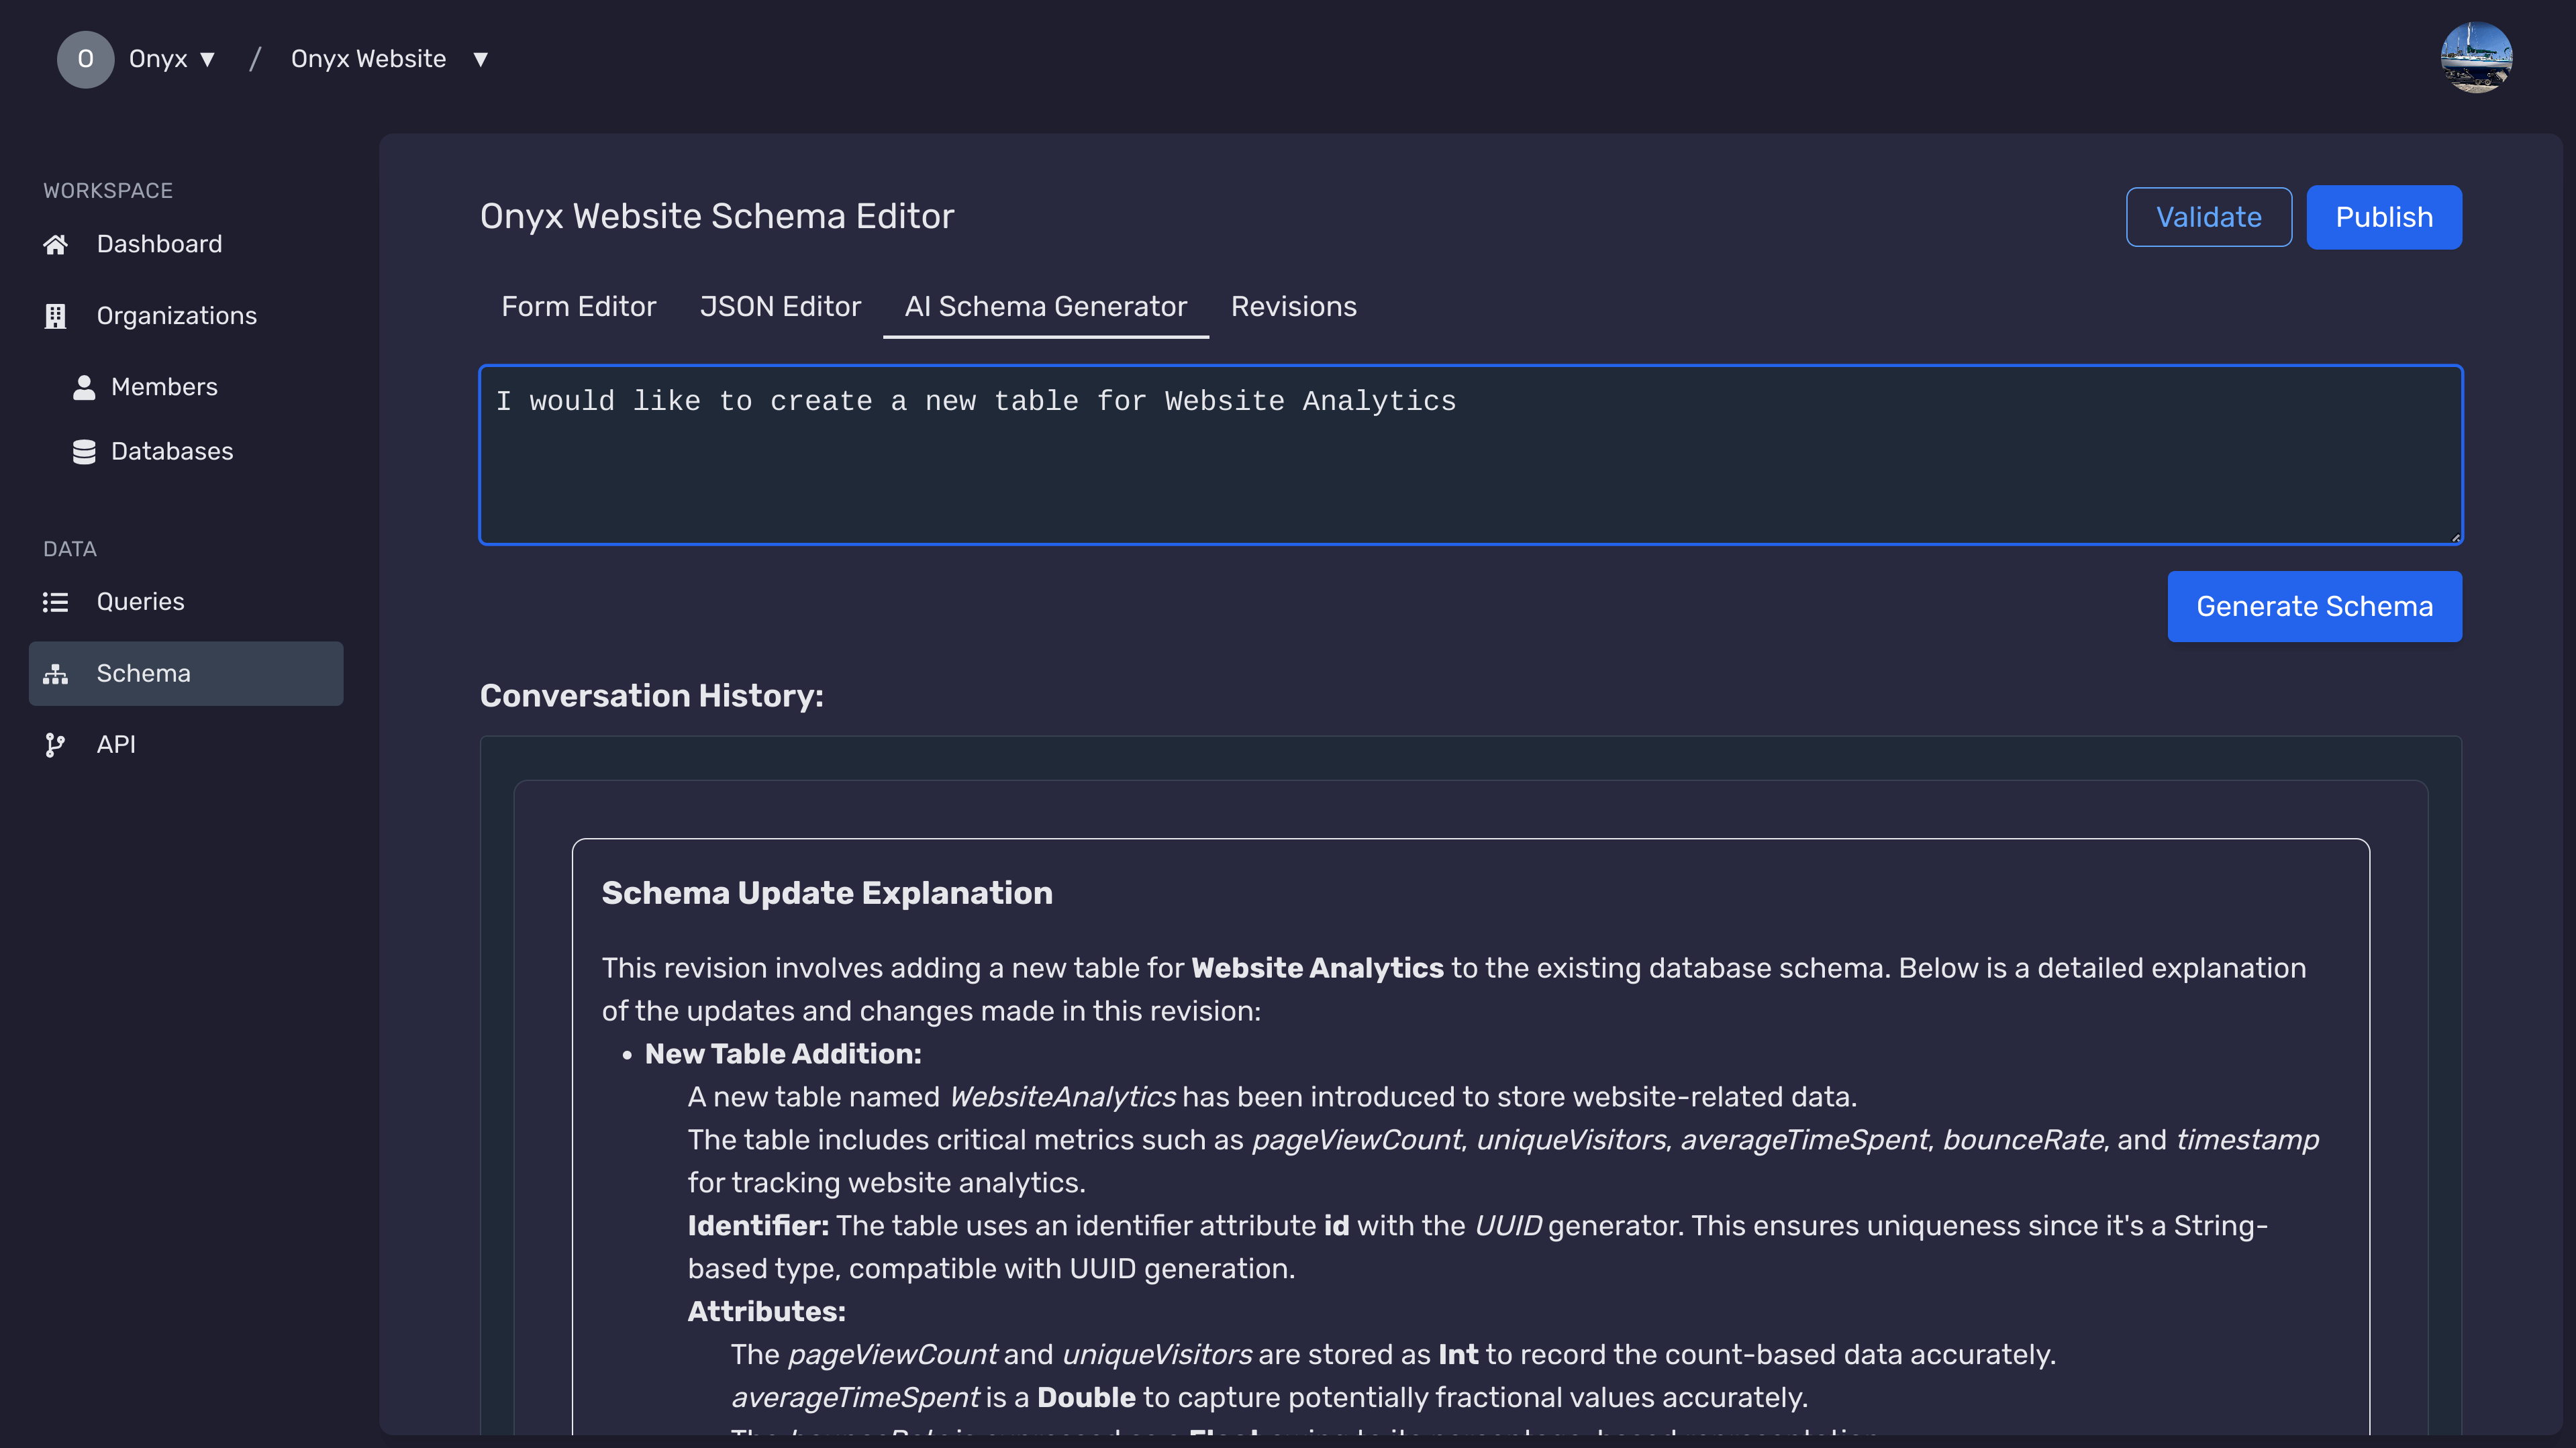
Inspect diffs and curate the batch
Select Review latest diff to open tabbed operations for every proposed change. Each tab highlights create, update, or delete actions with Monaco-powered JSON previews. Remove individual operations, copy payloads for manual edits, or provide follow-up feedback to request a revised proposal.
Validate and auto-resolve issues
When you apply the batch, the assistant stages the updated schema and runs the same validation used for manual edits. If an issue is detected, Onyx automatically retries with up to five AI-powered fixes before surfacing the validation error for your review.
Validating the Schema
Before publishing, ensure your schema is valid. Validation checks for missing or conflicting data definitions and ensures all requirements are met.
Click Validate
Press the Validate button at the top of the Schema Editor. The system will confirm if your schema is ready or highlight any issues.
Publishing the Schema
Once validated, you can publish your schema. Publishing will create a new revision that can be tracked and rolled back if necessary.
Open the Publish Dialog
Click the Publish button. A dialog will prompt you for arevision description, which helps track changes over time.
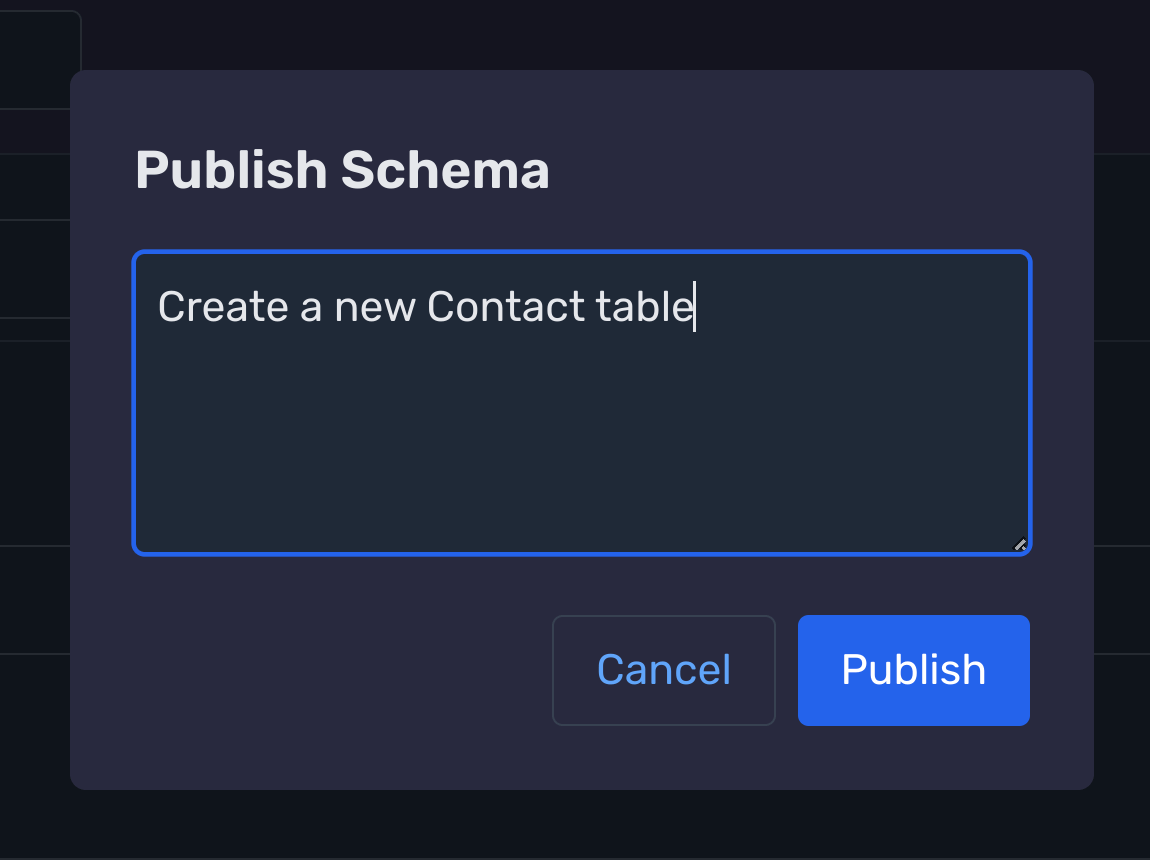
Add a Revision Description
Provide a meaningful description—e.g., "Added user profile table with attributes."
Publish the Schema
Confirm the publish action. If successful, a toast message will confirm that your schema has been published.
Managing Revisions
Over time, your schema evolves. With revision history, you can quickly review changes, restore a previous version, or branch out from a known good state.
View Past Revisions
Switch to the Revisions tab to see a chronological list of your schema changes. Each entry includes a timestamp and your revision description.
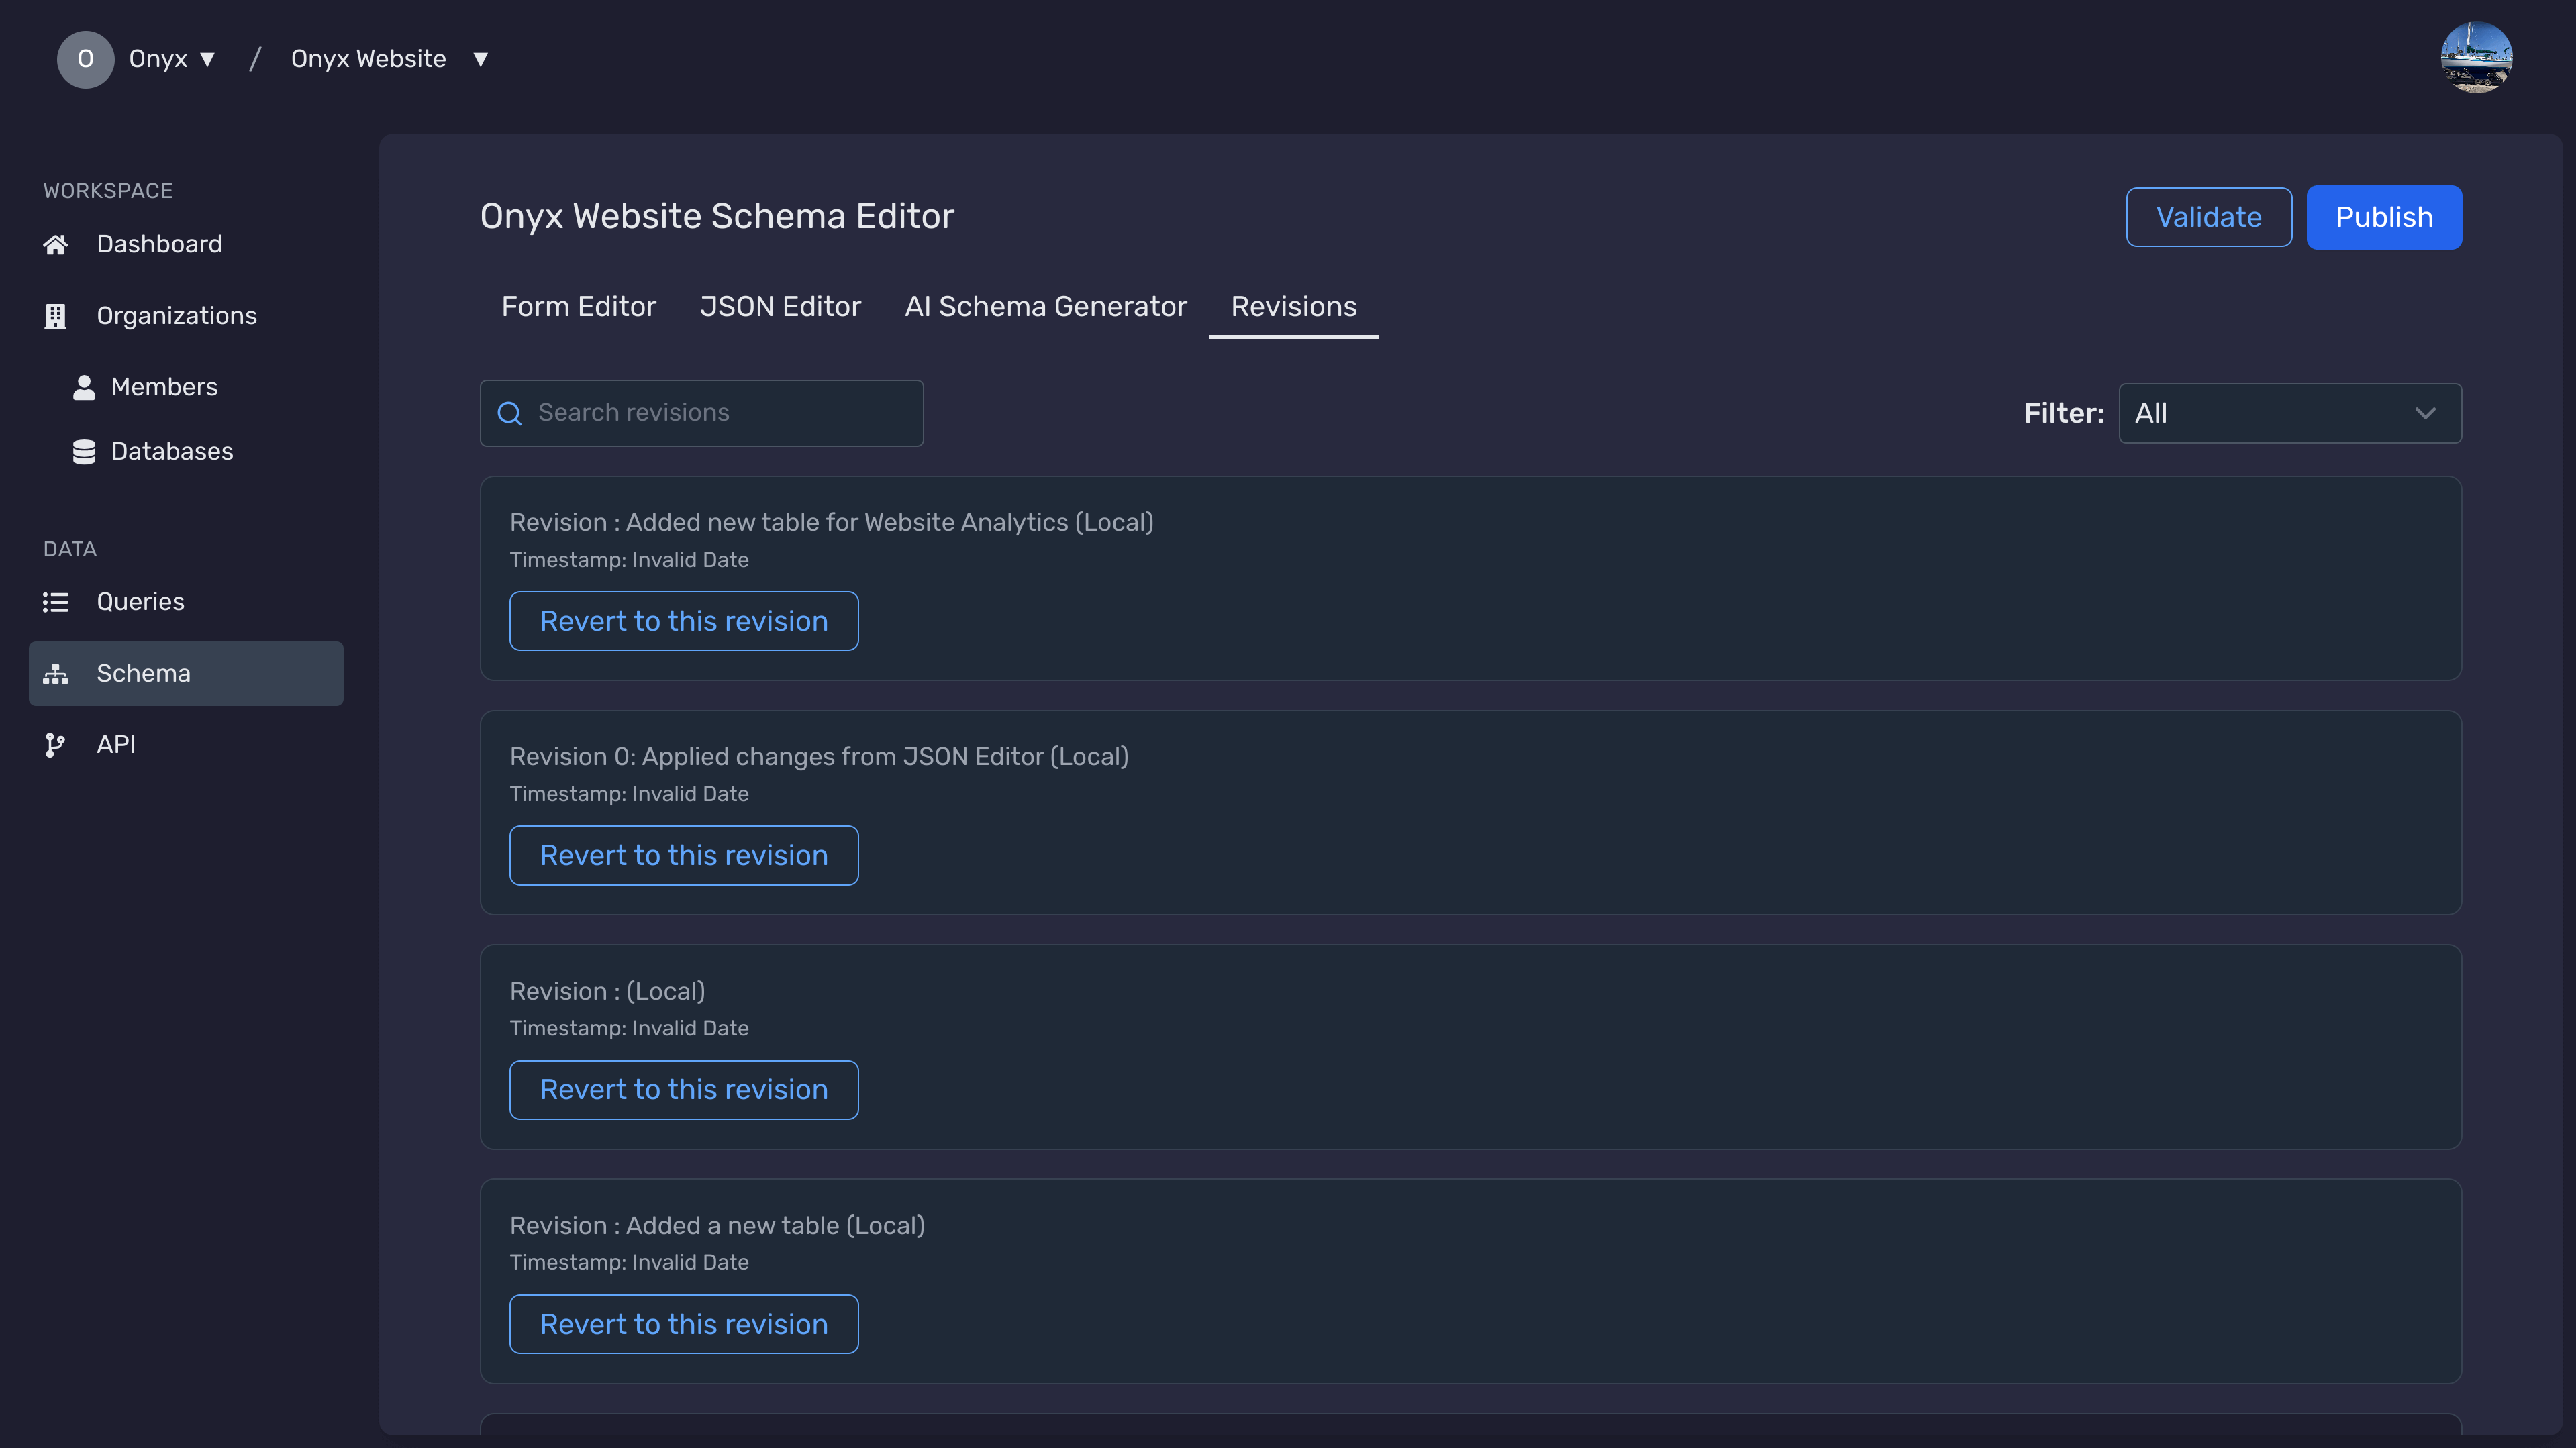
Restore a Revision
If you need to roll back, select a revision and click Revertto restore that version of the schema.
Next Steps
Need Help?
If you have any questions or need assistance:
- Email:support@onyx.dev
- Documentation: Visit ourHelp Centerfor tutorials and FAQs.